Ever noticed how something small—like a broken clip on your blinds—can make the whole room feel unfinished? Turns out, replacing that tiny part is easier than you might think. In fact, with some creativity and access to a 3D printer, fixing a broken clip for your blind facia (also known as the valance) can be surprisingly straightforward.
Why Does the Blind Facia Clip Matter?
The blind facia (or valance) isn’t just decorative—it hides the headrail and gives your windows a clean look. When its mounting clips snap or go missing (which happens more often than you’d like), the whole facade can droop or fall off completely. That leads to frustration and sometimes an expensive hunt for replacement parts that match your setup.
So what do you do when those clips break and there’s no easy replacement in sight? That’s where a bit of DIY magic comes into play.
How I Replaced My Broken Blind Facia Clip
Let’s walk through what worked when it was time to replace my own broken clip for the blind facia:
- Snapped a Picture: First off, taking a clear photo of the original (unbroken) clip made all the difference. It helped capture every angle and detail.
- Traced the Shape Digitally: Using Adobe Illustrator (but any vector tool works), I traced out the profile of the existing clip from my photo.
- Brought It into 3D: The outline was imported into Rhino (a popular 3D modeling tool), where I extruded it into a solid shape that matched the original dimensions.
- Printed It at Home: With those files ready, I sent them off to my trusty home 3D printer. A couple hours later—voilà!—the new replacement part was ready.
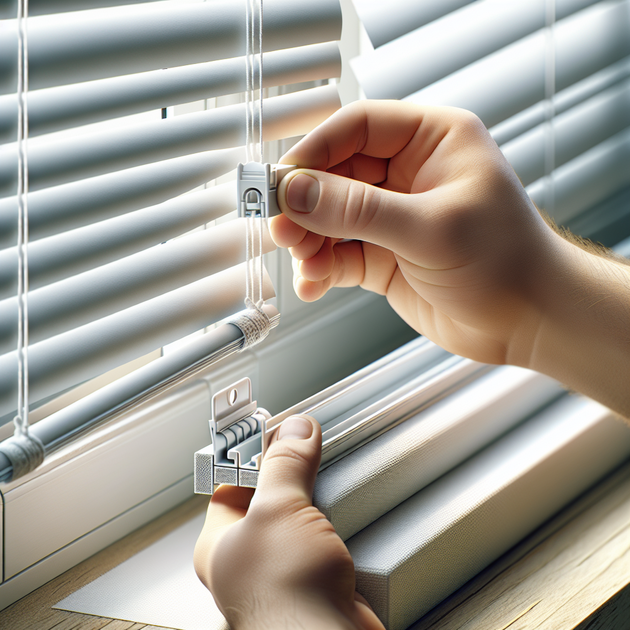
- Popped It Into Place: The real surprise? The new clip fit perfectly on the first try. No sanding or tweaking required.
Not only did this save me from buying an expensive set of new hardware, but it also felt pretty satisfying to solve such an annoying problem so quickly.
Tips for Creating Your Own Custom Blind Valance Clip
If you’re thinking about replacing a broken clip for your own blinds’ facia or valance—and maybe using 3D printing—here are some things that can help:
- Take detailed photos: Get shots from multiple angles so you can reference all sides while designing.
- Measure everything twice: Even small differences matter with tight-fitting parts.
- Use calipers if possible: For precise measurements of notches and tabs.
- Select sturdy filament: PETG or ABS works better than PLA if your window gets lots of sunlight.
- Test-fit before final install: Print at low quality first to check size before making your final version.
This process is handy beyond just blinds—losing little plastic parts happens everywhere around the house!
An Anecdote: When Simple Solutions Just Work
It’s always amazing when things go right on the first attempt. After prepping everything and sending my design to print, I fully expected some trial-and-error or last-minute fixes. But when that fresh-off-the-printer piece snapped right into place on my blinds’ facia rail? That “wow” moment made all the prep worth it. Sometimes, tackling these small repairs yourself brings not only savings but also real satisfaction.
The Value of DIY Window Blind Repair
Tinkering with projects like replacing a broken clip on your blind facia doesn’t just save money—it gives old things new life and keeps unnecessary waste out of landfills. Plus, you get to learn something new along the way.
If you’re curious about tackling similar fixes at home—or want more details about this particular project—check out [zigithor’s original Reddit post](https://www.reddit.com/r/functionalprint/comments/1nr29hy/replaced_a_broken_clip_to_mount_my_blind_facia/) for inspiration.
What small household fix has surprised you by working perfectly on the first try? Share your stories below!
Leave a Reply