Is there anything more gut-wrenching than seeing smoke rise from your freshly built drone—and realizing you’ve just fried your flight controller? If you’re new to building drones and just had this happen (especially with something like the GEPRC TAKLER F722 BLS stack), you’re not alone. Let’s dig into what might’ve caused that blown board and how you can avoid repeating the same mistake.
What Happens When You Fry a Flight Controller?
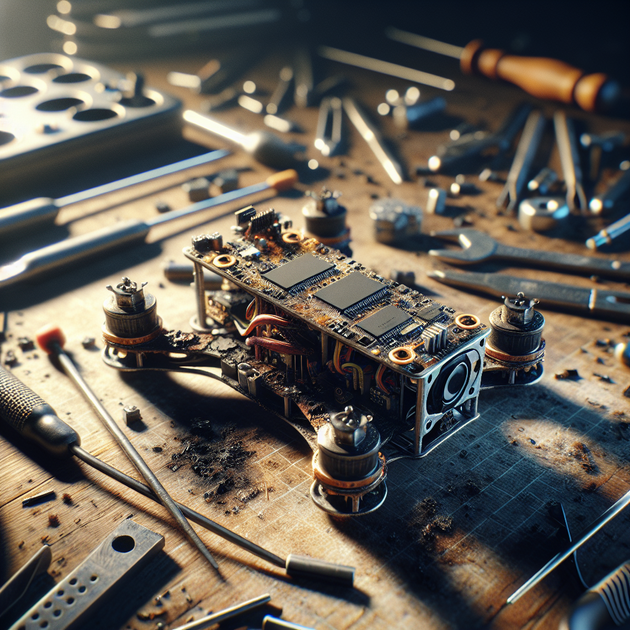
A “fried flight controller” usually means a key electronic component—like a voltage regulator or capacitor—has overheated or shorted out. Sometimes it pops right off the board. This can happen in the blink of an eye after plugging in your lipo battery. And while it feels like a disaster (because yeah… it is), understanding the cause can help you avoid it next time.
Common Reasons for a Fried Flight Controller
Let’s break down some usual suspects:
- Incorrect Connection Order: Plugging in USB before or after power can sometimes cause issues—especially if the board isn’t designed for hot-swapping.
- Short Circuits: Tiny solder bridges or loose wires can create shorts when power is supplied. Look closely at motor wires and capacitor legs.
- Wrong Voltage: Using a 6S lipo means you’re pushing over 25 volts through your stack. If any part isn’t rated for that, things get crispy fast.
- Poor Solder Joints: Cold or messy solder joints can create resistance or accidental contacts where they shouldn’t be.
- Faulty Components: Sometimes you just get unlucky with a bad board out of the box.
The Lipo Connection Mystery—Does Order Matter?
You mentioned connecting the USB first before plugging in the lipo—something you’d done several times without issue. While most modern stacks are designed to handle simultaneous USB and battery connections, some aren’t so forgiving. Here’s why:
- Some boards have separate power regulators for USB and battery input. If there’s any flaw in how these interact—like backfeeding voltage—it could fry something.
- If the board is slightly damaged or has poor soldering somewhere, those repeated power cycles might eventually push it over the edge.
So yes—the order can matter. But often there’s an underlying issue waiting for that trigger.
Troubleshooting Steps Before Powering On
Before plugging in that powerful 6S lipo again, run through this quick checklist:
- Double-check all wiring: Make sure nothing is touching where it shouldn’t be—especially around capacitors and motor pads.
- Inspect solder joints: Look for cold joints (dull instead of shiny) or accidental solder bridges between pads.
- Test with a multimeter: Check for continuity between positive and negative terminals before applying power—a beep means there’s a short.
- Add smoke stoppers: These inexpensive fuses limit current during first power-on tests so damage is minimized if something goes wrong.
- Review specs: Make sure every part—including your GEPRC TAKLER F722 BLS stack—is rated for the voltage of your battery.
A Real-World Anecdote
I remember my first “magic smoke” moment all too well—a rush job late at night before an early-morning maiden flight. I plugged in my battery after tweaking Betaflight settings for what felt like hours. Poof! A tiny pop near one corner of my stack and suddenly my hopes (and wallet) were toast. Turned out I’d missed a tiny solder bridge under one of the ESC pads. Lesson learned: slow down on final checks!
The Bottom Line—Was It Your Fault?
It might feel like connecting things in the wrong order was to blame for frying your flight controller—but usually there’s more going on beneath the surface. The combination of high-voltage batteries, tight quarters on modern stacks like the GEPRC TAKLER F722 BLS V2, and even minor soldering errors can set up a perfect storm.
If you’re building drones for the first time:
- Treat every first power-up like defusing a bomb—test carefully!
- Add smoke stoppers to your toolkit—they’re cheap insurance against blown boards.
- If something blows again despite careful checks, contact support; sometimes manufacturers will replace early failures if there’s evidence of defects.
So here’s my question to you—what steps do you take before powering up a fresh build? Share your pre-flight rituals below!
Leave a Reply