Is building your own speaker stands really worth it? That’s the question I had before starting my very first set of DIY speaker stands. Spoiler alert—it’s not as complicated as you might think, but there are a few surprises along the way. Whether you’re looking to save money or just want a fun weekend challenge for your audio setup, here’s everything I learned (the easy way and the hard way).
Why Build Your Own DIY Speaker Stands?
Let’s face it—good-quality store-bought speaker stands can cost a small fortune. When I started looking around for options to upgrade my home audio setup, the price tags were enough to make me consider balancing my speakers on stacks of books. That got me thinking… how hard could it be to make some myself?
Turns out, there are plenty of reasons folks go the homemade route:
- Budget-friendly: You can often use materials you already have.
- Custom fit: Make them exactly the height and style you need.
- Satisfaction: There’s something pretty cool about listening to music on something you built yourself.
- Learning experience: Great intro project if you’re new to woodworking or audio gear.
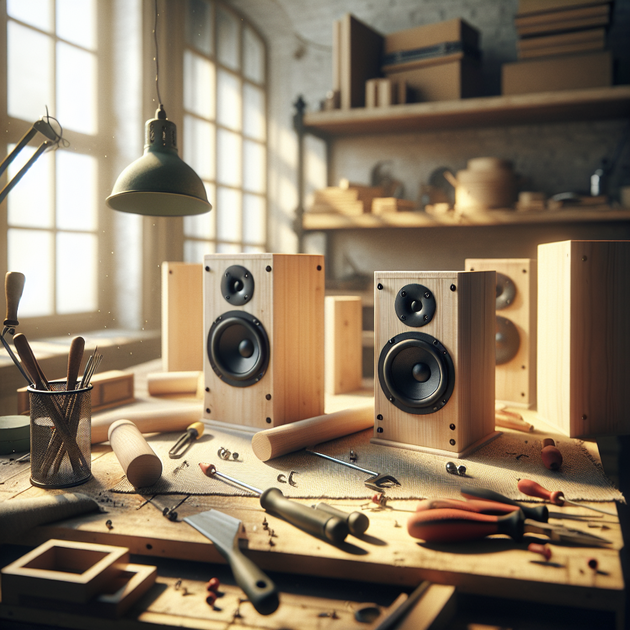
The Basic Plan: Tools and Materials
For my first try at DIY speaker stands, I kept things simple. No fancy joinery or hidden screws—just sturdy basics that anyone could put together with limited tools.
Here’s what most basic plans call for:
- Plywood or MDF boards (for base and top plate)
- Wooden dowels or pre-cut table legs (for columns)
- Screws or wood glue
- Sandpaper
- Paint or stain (optional—but it really makes a difference!)
Honestly, even if your toolbox only has a drill and a handsaw, you’re already halfway there.
The Build Process (and What Surprised Me)
I started by measuring the ideal height for my speakers—ear level when seated is the golden rule. Cutting straight lines was trickier than expected (my advice: measure twice and cut once… then check again). Assembly was straightforward; just screw or glue the columns between the base and top plates.
A few things caught me off guard:
- Stability matters: A wide base is key. My first version wobbled until I swapped in a bigger bottom plate.
- Dampening counts: If you want better sound isolation, try filling hollow columns with sand or rice.
- Finishing touches: Even a quick coat of paint makes them look less “DIY” and more pro.
Anecdote: The Unexpected Perks
Midway through building these stands in my kitchen (much to my partner’s amusement), I realized something—I was actually having fun. Not just in a “look what I made!” way but in learning how little tweaks changed both the look and performance of my setup. For example, adding non-slip rubber pads under each stand not only stopped vibrations but also saved our hardwood floors from scratches.
There was also that moment when I stood back after painting them black—a little uneven but totally functional—and felt proud every time I listened to music afterward. Sure, they aren’t showroom perfect… but they’re mine.
Troubleshooting & Tips for First-Timers
If you’re considering your own homemade speaker stands project, here are some simple tips from one beginner to another:
- Check weight limits: Make sure your design can handle the size and weight of your speakers.
- Add floor spikes or pads: These improve stability and protect floors.
- Don’t stress perfection: Small imperfections won’t affect performance much—and they add character!
- Look online for inspiration: Sites like Reddit (here’s mine) are full of ideas from other builders.
The Bottom Line—Are DIY Speaker Stands Worth It?
After going through this project from start to finish, here’s what I’ve found about making your own DIY speaker stands—it isn’t rocket science. If you want custom solutions without spending loads of cash (and maybe want a new hobby), it’s absolutely worth giving it a shot.
So now that you know what goes into building homemade speaker stands—and how much fun it can be—are you tempted to try building something yourself? Or do you have tips for making your own audio gear even better?
Leave a Reply