Let’s talk about the bungee cord hook—a small fix with big utility. If you’ve ever wished your elastic cords were easier to reuse or adjust, here’s something you can build in under an hour. This printable design lets you stretch a cord, snap it into place, and unhook it again without cutting or tying knots every time.
What’s new about this printable bungee cord hook
A Reddit user known as dooghan quietly dropped a clever design that changes how we handle stretch cords. Instead of crimping metal hooks or melting ends, this version locks the cord with a simple knot and uses tension to hold everything secure. It’s compact enough for field repairs but strong enough for garage duty. The best part? You can print the model on any FDM printer using common filament—no special supports or fancy slicer tricks required.
This approach matters because so many “universal” hooks rely on brittle clips that fail after a few tugs. Here the designer flipped the script: let the cord itself provide most of the holding force instead of relying on plastic rigidity alone.
How this bungee cord hook works
You’ll need about 15–30 minutes depending on your printer speed and filament type. Once printed, assembly is dead simple:
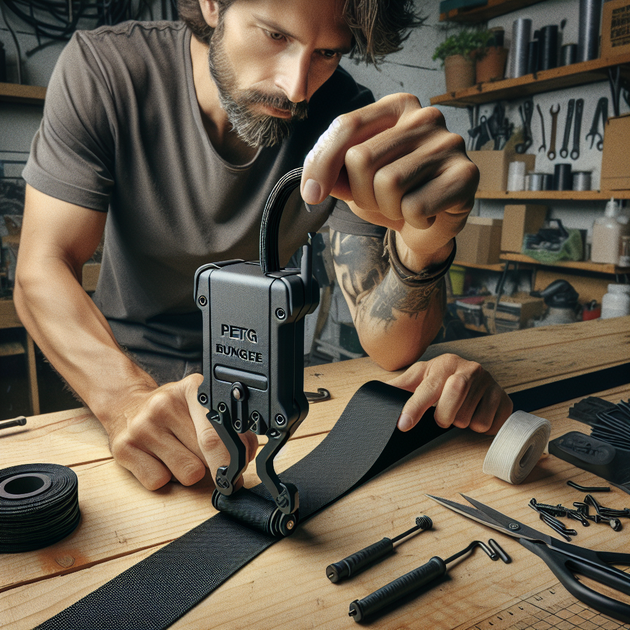
- Step 1: Print the two halves of the hook model at 100% scale using PETG or nylon for best durability.
- Step 2: Thread one end of your elastic cord through the base slot until two inches protrude.
- Step 3: Tie an overhand knot; pull it snug so it nests inside the cavity.
- Step 4: Stretch the other end slightly and snap it under the locking lip until you hear a click.
- Step 5: Tug-test both directions; if it slips, shorten the free end or add a second knot.
No glue needed—the friction from tension keeps everything locked once loaded. Think of it like a seat‑belt latch for stretchy rope.
A quick story from the workbench
I tried this print after losing half my store‑bought hooks during a weekend camping prep marathon. The commercial ones cracked near the eyelet; one even pinged across the driveway. After printing two of these DIY versions overnight, I replaced all four broken cords before morning coffee. They clipped onto my roof rack smoother than expected and held through three days of highway vibration plus rain. When I got home, I popped them off in seconds without cutting anything—a rare case where a printed part outlasted the metal hardware it replaced.
Nuance: where things can go wrong
This design isn’t magic. If you print it with low infill (under 40%) or brittle PLA in cold weather, micro‑cracks can form near the bend radius after repeated stretching. One way around that is annealing—bake the printed parts at around 80 °C for an hour to toughen them up—or simply reprint using PETG with three perimeters. Also note that knot size matters more than most people think; too small and it slips into the slot cavity under load, too large and it deforms the snap fit.
The contrarian insight here? Sometimes stiffness is your enemy. We instinctively chase rigid prints for strength, but flexible materials often last longer when used with elastic cords because they share load dynamically rather than fighting it.
Quick wins for better results
- Slice at 0.2 mm layer height; enable “Ironing” only if surface smoothness matters cosmetically.
- Add one extra top layer (six total) to prevent delamination at the curve.
- If using TPU filament, reduce extrusion temperature by 5 °C to keep corners crisp.
- Color‑code hooks by length of cord—helps avoid mix‑ups when packing gear.
- Run one test print at 90% scale for thin cords before committing to a full batch.
Troubleshooting checklist
If your snap doesn’t hold tight:
– Check layer orientation; print with hook curve lying flat on bed.
– Inspect for elephant foot warping—trim edges with a craft knife.
– Verify knot position inside cavity; center it before snapping closed.
– Avoid oily hands when threading; residue reduces friction.
Going deeper: adjusting tension behavior
The geometry allows minor tuning if you like experimenting with parametric models. Increase wall thickness from 1 mm to 1.5 mm to stiffen response under heavy loads (like securing tarps). For lighter applications—say organizing cables—scale down overall by 80%. Keep slot width proportional to your specific cord diameter (typical range 4–8 mm). A quick CAD tweak saves hours later when cords wiggle loose because tolerances were off by half a millimeter.
Why makers are drawn to this design
This project hits that sweet spot between simplicity and function. It doesn’t promise miracles—it just works with what’s already lying around your shop drawer. You could fabricate ten of these from leftover filament scraps while another print job runs beside it. Plus there’s satisfaction in replacing throwaway plastic clips with something you understand inside‑out because you built it yourself.
Adapting beyond elastic cords
You can modify the same mechanism for paracord loops or light rope tie‑downs by adjusting internal channel depth. The locking concept scales well; campers use smaller variants as tent line tensioners while cyclists adapt them as quick‑release straps for panniers. The same base geometry could even serve as cable management clips along tool walls—just flip orientation so gravity assists instead of fights retention.
The pragmatist’s takeaway
If you spend weekends organizing cables, tarps, or cargo nets, printing these saves money and clutter fast. There’s no need for exotic filaments or calibration rituals—just basic slicing discipline and attention during assembly. In practice they become semi‑permanent fixtures until you choose otherwise, exactly how a “removable” accessory should behave.
Future tweaks worth exploring
Makers are already suggesting variations with integrated carabiner rings or spring locks printed in dual material setups (hard shell + flexible latch). That might extend lifespan further but adds complexity during slicing—two extruders needed or manual filament swaps mid‑print. Until those designs mature, this plain single‑material version remains efficient for general use.
Community reactions summarized
User feedback trends positive across forums referencing this model: prints cleanly on entry‑level machines and passes moderate stress tests without failure when properly knotted. A few experimenters reported success scaling up 150% for heavy truck tie‑downs—though you’ll want reinforced filament like carbon PETG before trusting valuable cargo to any printed part.
The hidden learning curve
This project teaches subtle lessons about mechanical advantage in printed parts—the way angled geometry distributes stress across layers rather than concentrating it at one hinge point. Even seasoned hobbyists forget that layer adhesion behaves differently under compression versus tension; here both forces balance neatly through curvature design rather than brute thickness.
Quick wins recap box
- Use PETG or nylon at ≥40% infill for reliable strength outdoors.
- Tie one tight overhand knot only—extra loops reduce seating depth.
- Smooth inner channels post‑print using fine sandpaper if sliding feels rough.
- Test each hook once at full tension before storing gear long term.
- Keep spare lengths of elastic ready so replacements stay modular.
A small question before you close your slicer
If your next fix could be printed instead of purchased—and swapped out in seconds when worn—why wouldn’t you try? That’s the quiet revolution happening at every workbench right now: not chasing perfection, just making everyday hardware smarter piece by piece.
By Blog-Tec Staff — edited for clarity.
Leave a Reply