Have you ever looked at an ordinary object and thought, “Hey, that would make an awesome lamp?” That’s exactly what happened when I stumbled across some leftover materials in my workshop and ended up with a homemade glass block lamp. If you love unique lighting or enjoy tinkering with woodworking projects, you’ll want to hear how this came together—and maybe try something similar yourself.
Why Build a Glass Block Lamp?
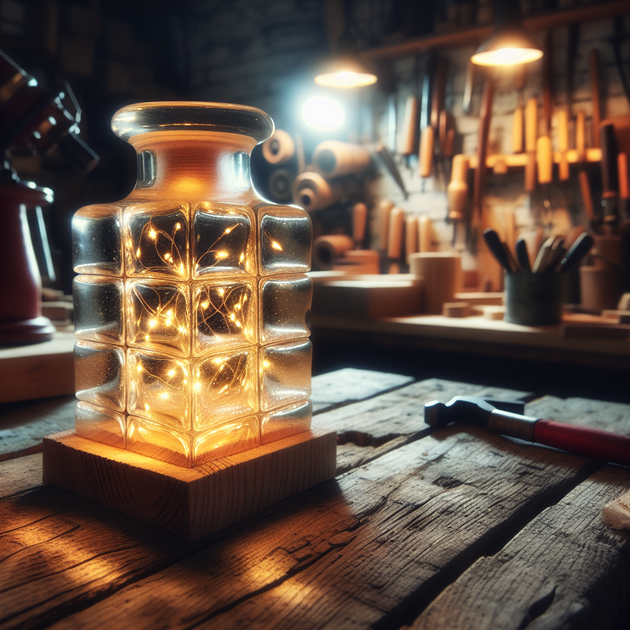
To be honest, I’ve always had a soft spot for anything that lights up in an unusual way. There’s just something cool about reimagining everyday items as creative lamps. The glass block lamp idea came to me when I noticed an unused glass block (the kind often used in showers or as window accents) sitting on a shelf in my garage. It was sturdy and clear with just enough style to catch the eye—perfect for transforming into a statement piece.
So why choose a glass block for a lamp? Here are some reasons that sealed the deal for me:
- Durability: Those thick blocks are tough as nails—no worries about breaking easily.
- Style: The way light bounces inside creates interesting patterns on nearby walls.
- Upcycling: Reusing old materials feels good (and saves money).
- Conversation starter: Not many people have seen a lamp like this before!
The Step-by-Step Process of Making My Glass Block Lamp
I’m not going to pretend this was some ultra-complicated build—it really comes down to creativity and patience. Here’s how I did it:
- I started by cleaning out the block thoroughly with soap and water (you don’t want any dust inside).
- I drilled a small hole in the back using a diamond-tipped bit. Go slow here; patience is key so you don’t crack the glass.
- Next came the wiring. I threaded a string of warm white LED fairy lights through the hole and positioned them so they were spread out evenly inside.
- I sealed up the hole with some clear silicone caulk so dust wouldn’t sneak in later.
- For aesthetics (and stability), I made a simple wooden base using scrap wood from other woodworking projects. A little sanding and stain went a long way!
- I attached rubber feet under the base so it wouldn’t scratch any surfaces.
And that was it—the transformation from plain old building material into an eye-catching homemade lamp was complete.
An Unexpected Lesson From This Woodworking Project
Here’s where things got interesting. When I first plugged in my new glass block lamp and turned off the room lights, I expected it to just glow softly. Instead, it lit up with these wild patterns on the walls—almost like water reflections. It instantly changed the mood of my workspace.
What surprised me most wasn’t just how good it looked but also how much of an impact such a simple project could have on my space. Sometimes it’s easy to overthink woodworking or home decor projects—believing you need fancy tools or expensive materials—but often it’s about seeing potential in what you already have.
Tips If You Want to Make Your Own Glass Block Lamp
Thinking about building your own version? Here are some things I learned along the way:
- Pick your lights carefully: Fairy lights work well because they don’t get hot.
- Drill slowly: Letting your drill bit cool between attempts will help prevent cracking.
- Add personal touches: Try colored LEDs or even tuck small objects inside before sealing it up.
- Safety first: Always wear goggles when working with glass!
A Quick Anecdote About Sharing My Creation
I posted photos of my finished lamp on Reddit (shoutout to r/woodworking!). The response was way more enthusiastic than I expected—a bunch of folks wanted tips or shared their own takes on unusual lamps. It turns out creative lighting really does get people talking.
Would You Try Making Your Own Glass Block Lamp?
Building this glass block lamp taught me that even simple projects can make your living space feel special—and spark some pretty great conversations along the way. What would you do differently if you tried making your own? Got any other unusual materials you’ve turned into DIY lamps? Let me know—I’d love to hear your ideas!
Leave a Reply