What’s more memorable than snapping silly photos with your favorite people at your wedding? If you’re dreaming of a unique touch and wondering how to pull off a DIY photo booth backdrop—especially one with a big heart-shaped twist—you’re in the right place.
Why Choose a DIY Photo Booth Backdrop?
A homemade photo booth backdrop isn’t just budget-friendly—it’s the perfect way to add personality to your celebration. Whether you love all things vintage or want something romantic and playful, making it yourself means you can match your theme and show off your creativity.
Plus, guests absolutely love having a spot to gather and take photos together. You’ll end up with tons of candid pictures that capture the spirit of your special day.
Step-by-Step Guide: Creating Your Heart-Shaped Backdrop
Here’s one way to build that dreamy layered look with hearts front and center—even if you have zero sewing skills:
- Decide on the layers: For two layers (a draped fabric wall plus the heart), start by picking fabrics that fit your color scheme—think soft pinks or classic reds for romance.
- Create the heart frame: Grab some large foam board or thin plywood. Draw out your heart shape (use chalk or pencil), then carefully cut it out using a craft knife or jigsaw.
- Cover with fabric: Lay out your chosen fabric (velvet or felt looks great!) over the cut-out. Stretch it smooth and secure it tightly at the back using hot glue or strong tape.
- Add some pizzazz: Outline the edge of the heart with fairy lights or lace trim for extra charm. You can even glue on faux flowers or sprinkle glitter on the edges if you’re feeling fancy.
- Set up the draped background: Hang curtains or long pieces of fabric behind where your heart will go. Drape them loosely from a tension rod, pipe-and-drape stand, or even between two trees outdoors.
- Assembly time: Prop up your heart in front of the drape using an easel, sturdy box, or hang it from above using clear fishing line (just make sure it’s safe and stable).
- Test it out: Step back and check how everything looks together—snap some test photos to make sure people fit “inside” the heart as planned!
No-Sew Hacks & Creative Touches
Not everyone is handy with needle and thread (join the club!). Luckily, most of this project only requires scissors, glue guns, and maybe some help from friends. If sewing isn’t an option:
- Use iron-on hem tape instead of stitching if you need finished fabric edges.
- Burlap and tulle don’t fray much—perfect for simple drapes.
- If all else fails, ask around; there’s almost always someone happy to help sew (or bribe them with cake!).
For even more character:
- Add hanging garlands made from paper hearts above or around your main frame.
- Paint wooden letters spelling “LOVE” or “SMILE” to nestle in your setup.
- Tie in vintage touches like lace doilies or old picture frames as props.
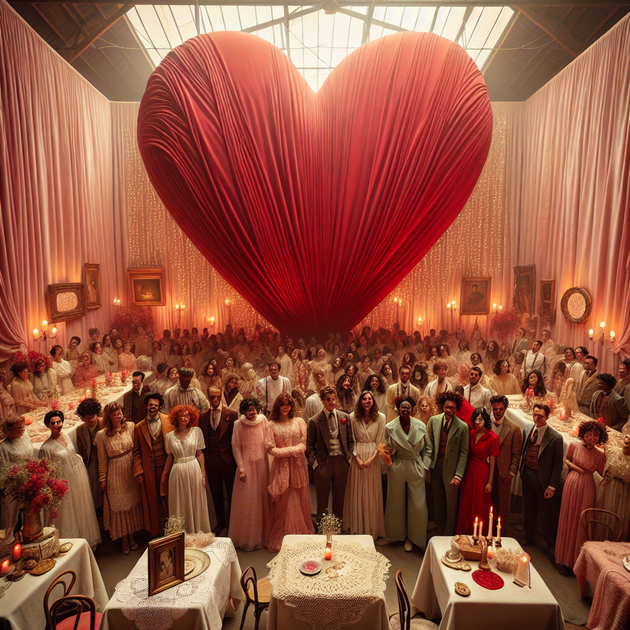
An Example From Real Life
A friend once decided she wanted her entire wedding vibe to feel like an old-school prom night meets grandma’s living room—think velvet hearts everywhere! She roped in her mom (and anyone who would listen) to help stretch thrift-store fabrics over foam boards for three oversized hearts. They used twinkle lights along the edges and threw in some quirky thrifted frames as props. Guests loved crowding into those giant hearts all night—and those photos still get giggled over years later.
It just goes to show that simple supplies plus some teamwork can create magic.
Your Turn! Ready To Get Crafty?
DIY doesn’t have to mean complicated—or perfect! With foam board, fabric scraps, lights, and maybe some help from loved ones, you can craft a beautiful DIY photo booth backdrop that fits both romantic and kitschy vibes.
What twist would you add to make yours stand out? Share your own ideas—or let us know how yours turns out!
Leave a Reply