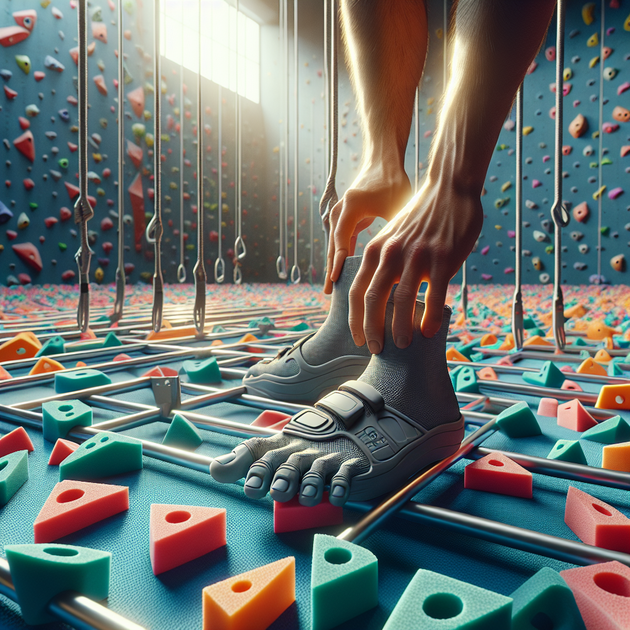
Your kids’ play dome shouldn’t leave crater-sized marks on the floor—yet most do. That’s why one Redditor’s 3D printed dome feet idea caught my eye. It’s a simple design fix you can replicate this afternoon using any mid-range printer and a few meters of filament.
Why this small print matters
Climbing domes have become the pandemic-era substitute for playgrounds. They’re affordable, sturdy, and usually set up indoors over puzzle-style foam mats. The problem? Steel bars dig into those mats like tiny shovels. Over time you’re left with permanent dents or even torn tiles.
Reddit user hamandchris decided to solve that with a minimal part—a clip-on foot that spreads the load and slides gently when the dome shifts. No screws, no glue. Just snap, test, and forget about it. The concept feels trivial until you realize how much wear you prevent with a few grams of plastic.
The neat part is how accessible it is. Anyone with a basic FDM printer (think Creality Ender-3 or Prusa MK4) can make these in less than an hour per set. No fancy slicing tricks needed—just precise scaling and solid infill.
How the 3D printed dome feet work
- Step 1: Measure the bar diameter of your climbing dome using digital calipers. Round up by +0.2 mm so the clip fits snug without cracking.
- Step 2: Open your CAD tool—Fusion 360 or FreeCAD both work—and sketch a circular base about 60 mm wide with a short cylindrical socket matching your bar size.
- Step 3: Add fillets around the socket edges (≈2 mm radius) so stress distributes evenly during snapping.
- Step 4: Export as STL → import into your slicer (Cura or OrcaSlicer). Set infill to 40–50 %, walls = 4, material = PETG for flexibility.
- Step 5: Print one test piece first; cool completely before pressing onto the bar end. If it cracks, increase hole tolerance by +0.1 mm.
This isn’t rocket science—but it’s smart mechanical reasoning applied at home scale. By increasing contact area from roughly 10 mm² to over 700 mm² per foot, the pressure on each tile drops below visible dent levels (based on basic load‑distribution math). You don’t feel it underfoot anymore either.
A quick backyard experiment
I tried replicating the idea with leftover PETG on my own Ender‑3 V3. The first prototype was too tight; I forced it on and heard that ominous “snap.” Classic rookie mistake—shrinkage at small diameters hits harder than you think. After widening the socket by half a millimeter, they clicked perfectly.
The real test came when my niece climbed the dome barefoot while blasting her playlist through a Bluetooth speaker (volume wars are eternal). After twenty minutes of hopping and sliding, I lifted one leg: zero dents in the mat below. Not even a faint ring mark.
The feet also helped stability because they added friction at each node without gluing down anything permanent. When it was time to clean up for dinner, I popped them off in seconds and stacked them in a drawer.
Nuance check: friction cuts both ways
There’s a subtle trade‑off here that many makers overlook—the more friction you add at each foot, the more torsion transfers into the joint above when kids push sideways. Too much grip can actually stress thin‑wall tubing or loosen bolts over time.
The fix? Lightly sand or polish the bottom surfaces so they slide rather than stick on foam texture. Another option is adding self‑adhesive felt circles; they act as micro‑bearings while still spreading load evenly.
If your dome lives outdoors on grass instead of indoors on EVA tiles, skip the slider version altogether and use a wider “shoe” with drainage holes. PETG handles moisture better than PLA but will still get brittle under UV after months—coat them with clear polyurethane if you want extra life span (MakeUseOf has good coverage).
Quick wins for makers
- Tweak dimensions early: Always print one test foot before committing to eight copies.
- Label parts by color: Kids love picking their own colors; use filament swaps between layers for fun patterns.
- Add chamfers: They reduce elephant’s foot effect and help first‑layer adhesion.
- Avoid PLA outdoors: It warps fast under heat lamps or sun exposure—PETG or ASA lasts longer.
- Document settings: Keep a text file of layer height, infill %, temperature; future reprints will match perfectly.
The broader story behind these feet
This project sits at that sweet spot between parenting hack and engineering mini‑lesson. It shows how consumer‑grade printers have matured enough that we now treat them like toolboxes rather than hobbies. The design didn’t come from a brand R&D lab—it came from someone noticing floor dents during playtime and deciding CAD could fix it before dinner.
A decade ago you’d have needed access to an industrial machine shop or injection molds for something like this. Now it’s just “download STL → slice → print.” Communities like Printables share thousands of such micro‑solutions daily—from chair‑leg sliders to stroller hooks—all built by regular users observing annoyances at home.
The contrarian insight? We tend to assume tech impact scales only upward—bigger printers, faster chips—but often it scales sideways through small domestic fixes multiplied across households. Saving one set of foam tiles may seem trivial until you realize millions of similar products end up in landfills due to compression damage alone.
A glimpse ahead
If designers start embedding these low‑impact modifications into product packaging—say including printable accessory files alongside assembly manuals—we could extend furniture lifespan dramatically without new materials at all. Open‑source hardware sites are already experimenting with QR codes linking directly to repair models; expect toy brands to follow once liability hurdles shrink.
I’d love to see formal testing data on these clip designs under dynamic loads—how many Newtons before slip occurs on different flooring types? But even without lab metrics, anecdotal evidence points toward major improvement for pennies per foot in filament cost.
Troubleshooting corner
If you encounter tight snaps that won’t fit even after tolerance tweaks, don’t reprint immediately—try heating the inner ring gently with a hair dryer for five seconds before attaching; PETG becomes slightly pliable around 70°C and adapts better then locks firm once cooled.
If prints curl at corners (common with dense bases), enable “Brim” → width = 8 mm in Cura’s Build Plate Adhesion settings; remove after cooling using a thin scraper at shallow angle to avoid gouging layers.
No printer yet? Local libraries increasingly offer access through makerspaces; just bring your STL file on USB and pay per gram of filament used—a good gateway before investing in hardware yourself.
The takeaway
A few hours spent modeling small connectors can save hundreds in damaged flooring down the line—and teach basic mechanical reasoning along the way. Whether you’re protecting gym mats or hardwood under chair legs, this same principle applies: distribute pressure before damage happens.
You don’t need special credentials—just curiosity plus willingness to iterate once or twice until fit feels right. That’s engineering distilled into its friendliest form: observe → tweak → retest → share results online for others to refine further.
Your turn
If you’ve got similar domestic wear issues begging for attention—a table scratching tile grout or metal shelving cutting rubber pads—what’s stopping you from designing your own clip‑on fix tonight?
Leave a Reply