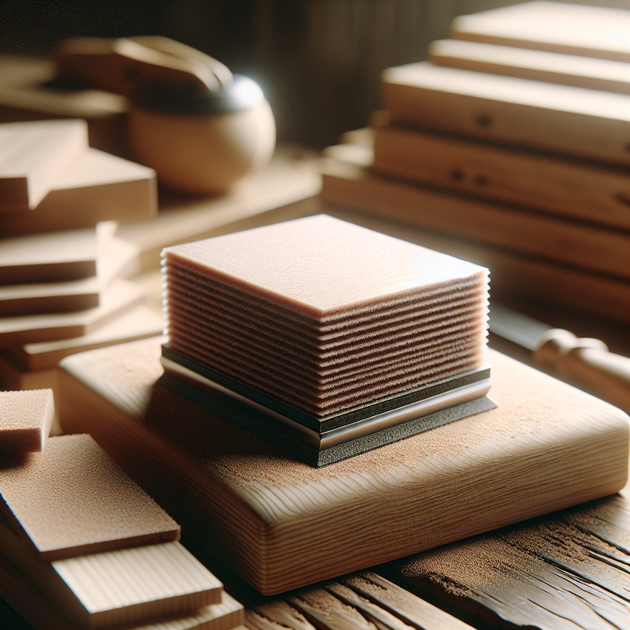
Here’s a quick win you can grab this hour: try out a precision sanding block for crisper chamfers and fewer rounded mistakes. If you’ve ever botched the edge of a project during finishing, you know exactly why this matters.
Precision Sanding Block: What’s New in Workshop Tools?
The classic sanding block has been around forever. But a new twist—like the design from J1Design—makes a strong case for updating your toolkit. Instead of relying on feel or guesswork to keep edges sharp (especially those pesky chamfers), makers are now turning to 3D-printed or custom-fit blocks designed specifically for edge control. The result? Less frustration when finishing wood or even plastics—and more consistent, professional-looking results.
How the Precision Sanding Block Works
- Print or build a sanding block with edges that match your desired chamfer angle.
- Wrap sandpaper tightly around the block; secure if needed.
- Align the block so its edge rides directly along the chamfer—no tilting allowed.
- Sand using smooth strokes; check progress often for uniformity.
Precision Sanding Block in Action: Micro-Story
I watched a friend finish a walnut jewelry box last month—his pride and joy after weeks of work. During final sanding, he nervously switched from his regular foam pad to a rigid precision sanding block. The difference? Sharp lines where he wanted them; no accidental curves or wobbles that screamed “DIY.” His relief was real.
Nuance and Limitations of the Precision Sanding Block
Here’s a catch few mention: while a precision sanding block saves edges from being rounded over, it can also leave faint ridges or unevenness if your sandpaper isn’t wrapped perfectly flat. That’s not always visible until you apply finish. To minimize this, check that your sandpaper is tight and even before each session—better still if you use adhesive-backed sheets for zero slack.
Quick Wins With Your Precision Sanding Block
- Test on scrap wood first to dial in technique without risking your project.
- Use fine-grit paper (220+) for final passes to avoid scratches.
- Keep multiple blocks handy with different angles for repeatable results.
- Brush away dust between strokes so grit doesn’t mar the surface.
- If possible, watch online demos—like those at Popular Woodworking—to spot pro tips in action.
The Reflective Close
If one small tool can make such a difference in fit and finish, what other little upgrades have you overlooked in your shop?
By Blog-Tec Staff — edited for clarity.

Leave a Reply