It’s not every day someone finds a 1080p 144Hz IPS panel lying around—especially one that’s still got its protective film. But even if you luck into one (like the LM156LF2F01), turning that bare display into something usable takes more than just plugging in a cable. Here’s what you need to know about getting it working with an eDP controller.
Understanding Your Bare LCD Panel
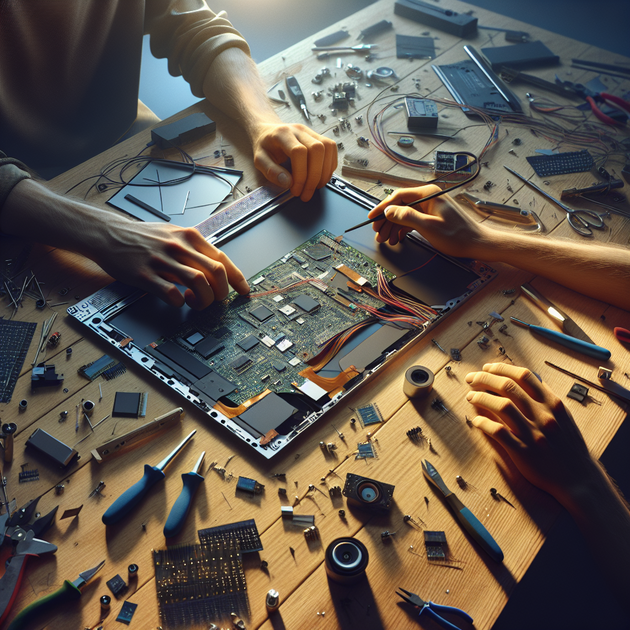
Bare display panels like the LM156LF2F01 can look intimidating at first. Unlike complete monitors or laptop screens with their own enclosures and electronics, these are just the raw screens—no power supply or control board included.
- Model: LM156LF2F01 (15.6”, matte finish)
- Resolution: Full HD (1920×1080)
- Refresh Rate: Up to 144Hz
- Connector: Standard 40-pin eDP (embedded DisplayPort)
- Panel Type: In-Plane Switching (IPS), great color and viewing angles
If you want to turn it into a working monitor or upgrade a project build, you’ll need the right controller board.
What Is an eDP Controller?
An eDP controller is a circuit board that acts as the “brains” between your computer/device and the raw LCD panel. It takes in video signals from HDMI or DisplayPort and outputs them in the exact format your screen needs via the eDP connector.
The right controller makes all the difference—it determines whether your new find will show anything at all.
Main Features of an Ideal Controller Board:
- eDP Output: Must match your LCD’s pinout and voltage requirements.
- Input Ports: HDMI is common; DisplayPort preferred for higher refresh rates.
- Power Supply: Typically needs a separate DC adapter (often 12V).
- User Controls: Onboard OSD (On-Screen Display) buttons are helpful for adjustments.
What To Look For When Buying an eDP Controller for Your Panel
This is where things get technical—but it doesn’t have to be overwhelming. The focus keyphrase—choosing the right eDP controller for your 1080p 144Hz IPS panel. Here are the most important things to check before buying:
- Laptop Screen Model Support: Double-check that your exact model (LM156LF2F01) is listed as compatible by the controller vendor.
- Pins & Signal Voltage: Most modern panels use standard “40-pin” connectors but check voltage specs (usually either 3.3V or sometimes up to 5V).
- Refresh Rate Support: Many cheap boards only go up to 60Hz—even if your screen can do much more! If you want true high refresh performance for gaming or smoothness, make sure both board and input signal support at least 120–144Hz at full resolution.
- Cable Length & Quality: Longer cables can introduce signal noise at high refresh rates; keep runs short when possible.
- User Reviews & Documentation: Look for vendors that provide real datasheets and support—AliExpress is popular but check seller ratings closely. Some reputable options include sites like Panelook, which helps confirm specs for many display models.
Avoid These Common Pitfalls
- Mismatched pinouts—even among “standard” connectors there may be differences in backlight or power pins!
- No support for high refresh rates—don’t assume any HDMI-to-eDP board will do more than basic video output.
- Lack of documentation—if there’s no manual or wiring diagram offered by the seller, think twice before buying.
A Quick Anecdote About Dorm Room Treasure Hunting
A few years ago in my college dorms, communal recycling was always full of surprises. One evening, someone tossed out what looked like a perfectly good laptop screen. After some research on its model number—and some trial-and-error with cheap control boards—I realized not all “universal” boards actually supported its native refresh rate. It taught me two things: people throw away wild tech sometimes, and doing homework on compatibility saves time (and frustration) down the line!
Troubleshooting Tips & Next Steps
- If your screen stays blank after connecting everything:
- Double-check pinout matches between cable/controller/panel datasheets.
- Tweak input settings—try both HDMI and DisplayPort inputs if possible.
- If possible, source another similar display to rule out a bad panel (these are sometimes discarded due to faults).
- If backlight turns on but no image appears—it might be a signal issue rather than power or hardware failure.
- You may also want to reference guides from communities like Tom’s Hardware (DIY Monitor Controller Board Guide) for detailed wiring help.
- If you see color issues or flickering:
- Poor connections or incompatible cables are often culprits; try reseating everything.
Your Checklist Before Powering Up
- The controller board lists LM156LF2F01 as compatible
- You have matched voltage/pinout diagrams
- Your input device supports chosen resolution/refresh rate
- Cables are seated securely
- Adequate ventilation—bare panels can heat up!
The Joy (and Challenge) of DIY Displays
Tinkering with raw displays is equal parts rewarding and challenging. If you’re patient—and careful about checking specifications—you can turn discarded tech into impressive custom monitors or testbeds for future projects. Just remember that not every “universal” solution fits every use case—especially when it comes to high refresh rate screens like these!
If you’ve ever rescued old tech for a new life—or hit weird compatibility snags along the way—what did you learn from it? Share your story below!
Leave a Reply