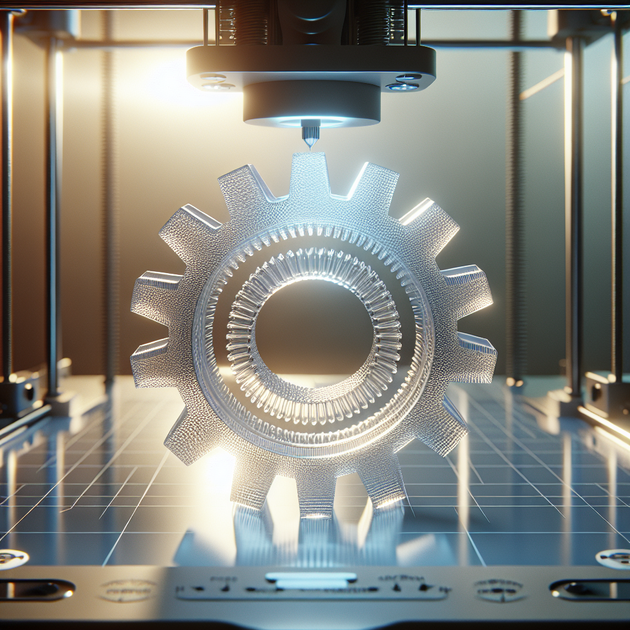
Ever wondered why your clear 3D prints aren’t actually clear, no matter how much you sand and polish? Achieving that sought-after glass-like finish isn’t just about post-processing—it starts in your slicer settings. The “print as glass” setting is a hidden gem for those chasing transparency in materials like PCTG, but there’s more to the story than just flipping a switch.
Why Do 3D Prints Turn Opaque?
It’s a common frustration: you load up your favorite transparent filament, dial in a low layer height for precision, and your print comes out looking frosted or cloudy instead of crystal clear. The main culprit? Trapped air. When layers aren’t fully fused together—especially at low heights—tiny air pockets get sealed inside the print. These scatter light, making the object look milky.
Even with hours of sanding and polishing, you’re often just smoothing the outside, not fixing what’s trapped inside. This phenomenon matches what’s explained in guides like All3DP’s article on clear 3D prints, which highlights how internal air and incomplete fusion ruin clarity.
What Does “Print As Glass” Actually Do?
The “print as glass” setting in popular slicers tweaks several things behind the scenes to help you achieve transparent results. Here’s what usually happens when you enable it:
- Slower Print Speeds: More time for each layer to fuse, reducing trapped air.
- Higher Nozzle Temperatures: Improves flow and helps layers melt together fully.
- Wider Extrusion Width: Promotes better bonding between lines and layers.
- Fewer Perimeters: Reduces overlapping that can cause cloudy spots.
The goal is simple: eliminate gaps and air bubbles that scatter light. If you’re printing with dried PCTG and using a slow speed with a 120μm layer height, like in the original experiment, most of the air gets squeezed out, leading to clearer walls and surfaces.
Tips for Achieving Crystal-Clear Results
If you want to get the best clarity from your transparent filament, focus on these proven tips:
- Dry Your Filament: Moisture is the enemy of clarity. Always dry PCTG or PETG thoroughly before printing.
- Print Slow and Hot: Slower speeds and higher nozzle temperatures give layers time to fuse completely.
- Adjust Layer Height: Too low can actually trap more air; try moderate heights like 0.12mm for better fusion.
- Tweak Extrusion Settings: Slightly over-extrude to fill gaps.
- Use “Print As Glass” Mode: If your slicer supports it, enable this mode for optimized transparency.
You’ll find more detailed breakdowns and tested advice at sites like MatterHackers’ guide to clear prints, which also covers troubleshooting for foggy results.
Anecdote: The Transparency Breakthrough
A friend once spent weeks trying to create a see-through sensor housing for a project. No matter what settings they tried, every print looked frosted. They tried sanding, flame polishing—even dipping parts in resin. Nothing worked. Finally, they stumbled across the “print as glass” option in their slicer’s advanced material settings. By slowing down the print, increasing the nozzle temperature, and drying their filament, the next attempt was almost perfectly clear. The difference was night and day—and it all came down to removing trapped air during printing, not after.
Is “Print As Glass” Worth It?
If total transparency is your goal, the “print as glass” setting is definitely worth exploring. Just remember: it won’t magically fix all problems. The quality of your filament, how dry it is, and your printer’s calibration still matter. Layer height plays a big role too—sometimes going too low makes things worse by trapping more air between layers.
For more on optimizing materials and settings, check out resources like Prusament’s PCTG page for detailed material advice.
So, next time you need that crystal-clear finish, will you give “print as glass” a shot—or stick to sanding and polishing? Let us know your best transparency tricks in the comments!

Leave a Reply