What’s the secret behind those jaw-dropping handmade wedding invites that everyone raves about? It’s not just creative flair—it’s making sure every detail is right before they ever hit the printer. If you’ve poured hours into a DIY invite design (especially with hand painted or drawn art), it’s easy to get lost in the weeds and miss something crucial. Before you send those beauties off to print, let’s walk through what you should double-check for flawless results.
Why Details Matter in Your DIY Invite Design
Handmade invitations are so personal—each brushstroke and doodle shows off your personality and sets the tone for your big day. But after staring at the screen (or paper) for hours on end, it’s almost impossible not to overlook something. That’s why a final review is more than just a formality—it could save time, money, and stress down the line.
It helps to step back and approach your creation like a guest would. Is everything clear? Is something missing? Remember that even tiny tweaks can have a big impact when it comes time to print.
Checklist: What To Review Before You Print
Here’s a quick rundown of essentials every DIY invite designer should check:
- Spelling & Grammar: Double-check names, dates, addresses—then check them again. A fresh set of eyes helps.
- Print Bleed & Margins: Make sure artwork doesn’t run too close to the edge. Printers need extra bleed space (usually 1/8 inch) so nothing gets cut off.
- Image Resolution: Aim for at least 300 DPI for crisp prints of hand painted or drawn elements.
- Color Mode: Set files to CMYK (not RGB) for accurate color reproduction (PrintingForLess explains why).
- Text Legibility: Flowery script looks lovely but can be tough to read—try printing a sample at actual size.
- RSVP Card Details: If using dried flowers on RSVP cards, leave enough room or create a placeholder so nothing overlaps key info.
- Special Instructions: Let guests know about unique features (like real dried flowers) so they don’t get confused.
- Papers & Finishes: Consider how textures or paper colors might affect visibility of artwork or text (PaperPapers breaks down paper choices).
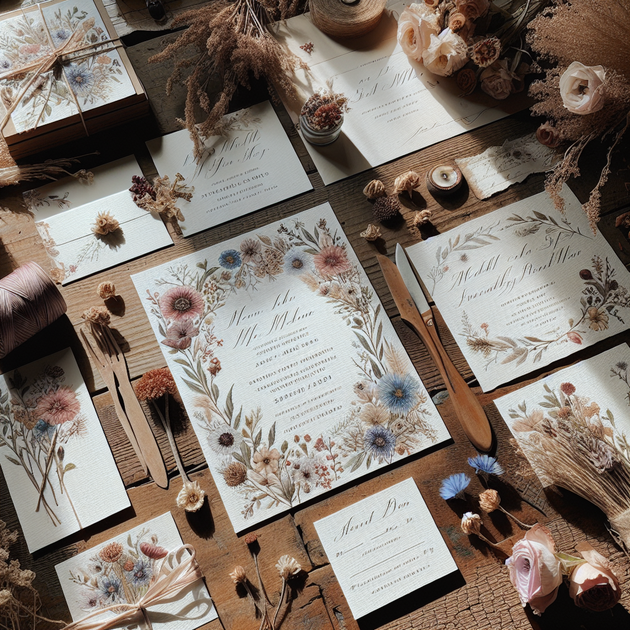
Designing With Dried Flowers & Handmade Touches
Using real dried flowers on RSVPs is such a creative idea—it adds texture and makes every card one-of-a-kind. Just remember that bulkier elements can change how cards fit in envelopes (and might bump up postage). A useful trick is assembling one full set—invite plus all inserts—to check thickness and mailing requirements before making dozens more. The USPS offers helpful guidance on mailing unusual envelopes (see their official prep tips here).
If possible, mention somewhere on the RSVP card that each piece features real flora—your guests will appreciate knowing these are lovingly handmade!
Anecdote: The Value of Taking a Break
A friend once spent days perfecting her own wedding invites—watercolors, calligraphy, vellum overlays—the whole nine yards. She thought she’d nailed every detail…until her mom spotted that she’d swapped two digits in her venue’s zip code! Moral of the story? When you’ve been staring at something too long, taking even an hour away (or asking someone else for feedback) can make all the difference between “oops” and “wow.”
The Final Step: Feedback & Test Prints
Before committing to that big order with the printer:
- Ask someone who hasn’t seen them yet: Fresh eyes catch details you may have missed.
- Order one test print set first: This lets you see colors and spacing in real life—sometimes things look different on screen!
- Pretend you’re a guest receiving them: Is everything clear? Are important details front and center?
If you want more hands-on tips or templates for wedding invitations, sites like Martha Stewart Weddings’ invitation guide offer useful ideas from professionals.
Finishing touches matter most when it comes to creating memorable keepsakes. So take that extra moment—you’ll thank yourself later!
What part of designing your own invites has been the most rewarding—or surprising—for you?
Leave a Reply