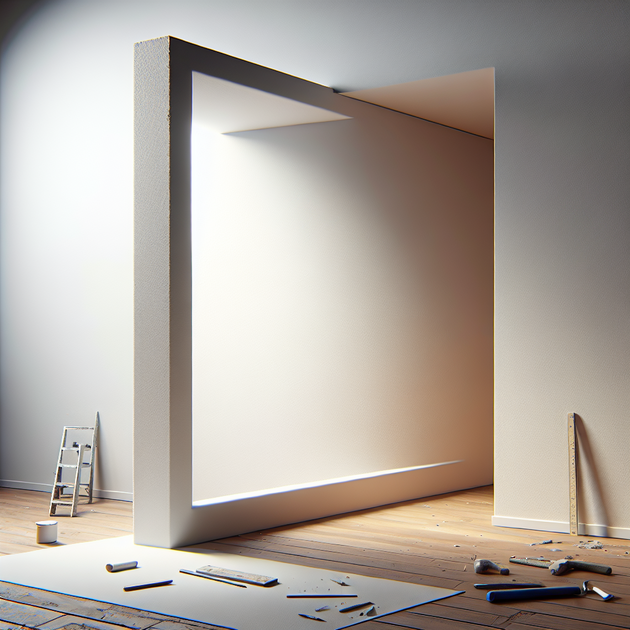
Ever notice how even a small bump in your wall can become all you see every time you walk by? If your electrician cut a piece of drywall and left it sticking out—about a quarter inch—not flush with the rest of the wall, it’s more common than you think. But what’s the best fix? Can you just sand it down and move on with your day, or is a full redo in order?
Why Does Drywall Stick Out?
Before jumping into repairs, let’s look at why this happens. Electricians sometimes need to cut into walls for wiring or outlets. If they replace the piece of drywall but don’t get it perfectly flush with the surrounding surface—or don’t secure it snugly—it can end up poking out. Even being off by just a quarter inch is enough to catch your eye (and maybe your sleeve).
This isn’t just about looks; an uneven patch can make painting difficult and may even weaken over time. According to Family Handyman, having a flush surface is key for long-lasting repairs and seamless paint jobs.
Can You Sand Down Drywall That Sticks Out?
Sanding is often the first solution people think of when they see minor wall imperfections. But here’s the thing—sanding only works well for small bumps or high spots in joint compound (the mud used for finishing), not for solid chunks of actual drywall board.
Drywall sheets are made from compressed gypsum between paper layers. Trying to sand down a piece that sticks out by a quarter inch would take forever and make an incredible mess—and probably damage the paper surface around it. Not fun.
Here’s when sanding works:
- The bump is from dried joint compound (not solid board)
- The raised area is less than 1/16″ thick
- You’re only trying to feather edges before painting
If you’re dealing with a solid piece of drywall that’s noticeably higher than the rest of the wall (like your situation), sanding alone probably won’t cut it.
Do You Need to Redo the Patch?
When faced with quarter-inch thick “speed bumps,” most pros agree—it’s better to redo the patch. Why? Because any mudding and feathering will need such thick layers that it’ll be obvious even after painting. Plus, thick mud can crack as it dries over time.
Here’s how you (or your contractor) can do it right:
- Remove the protruding piece carefully.
- Make sure the hole edges are clean and square.
- Cut a new piece of drywall so it fits snugly—flush with surrounding wall.
- Screw or secure in place so there are no gaps.
- Apply thin coats of joint compound, feathered wide around edges.
- Sand lightly between coats once dry until perfectly smooth.
- Prime and paint as usual.
For more detailed steps on patching holes like a pro, check out this guide from This Old House.
A Real-World Anecdote
A friend recently had an outlet added in his living room. The electrician patched up his cutout but didn’t quite get things flush—a section was noticeably poking out. He tried sanding but quickly realized he was getting nowhere fast; all he got was dust and frustration! After redoing just that small section (removing and replacing with a snug patch), he hardly remembers where the repair was—and neither does anyone else who visits.
Tips for Getting That Smooth Finish
If you want professional results without calling in reinforcements:
- Take your time measuring and cutting patches.
- Use mesh tape on seams for fewer cracks (Lowe’s guide).
- Apply joint compound in several thin layers instead of one thick layer.
- Smooth each layer well before moving on.
- Prime before painting to hide repaired areas completely.
Even though redoing might seem like more work now, you’ll thank yourself every time you walk by—and don’t notice anything at all!
So—if your electrician left you with some bumpy drywall sticking out, would you try tackling it yourself or call someone back to fix it right?

Leave a Reply