Ever wondered if it’s possible to build a budget drone that not only flies but also spots objects using computer vision? Thanks to affordable hardware and open-source tools, even first-time builders can create a small, crash-friendly drone that packs real smarts.
Why Build a Budget Drone With Object Detection?
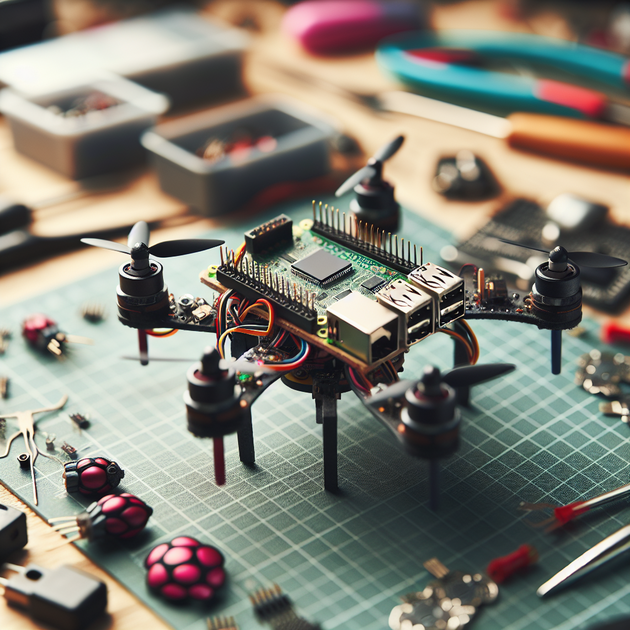
For many beginners, the thought of sending an expensive drone into a tree is enough to give them pause. But with the right DIY approach, it’s totally doable to put together a cheap, nimble drone that survives the learning curve—and still runs object detection algorithms. By combining tools like Raspberry Pi and the HAILO8L AI accelerator, you can experiment with computer vision on a flying robot without breaking the bank.
If you’re curious about real-world applications, check out this Tom’s Hardware guide to building an AI-powered drone. It’s proof that you don’t need enterprise-level gear to get started.
Parts List for a Budget-Friendly DIY Drone
Let’s break down a parts list focused on affordability and capability for object detection:
- TBS Source One V5 5″ frame
- 4× EMAX ECO II 2207 1700KV motors
- Budget 5″ tri-blades (e.g., Gemfan or HQ)
- 2.4 GHz ELRS receiver
- SpeedyBee ELRS Nano
- LiPo battery (CNHL 4S 1500 mAh)
- SkyRC S65 charger
- RadioMaster Pocket ELRS (LBT) transmitter
- Sensors: TFmini-S and VL53L1X
- STM32 microcontroller
- Raspberry Pi 5 + HAILO8L AI accelerator
This setup blends cost-effectiveness with enough computing muscle for real-time object detection.
Is the Architecture Feasible?
The proposed flow—sensors → STM32 → Raspberry Pi 5 → Flight Controller → Motors—makes sense for this kind of smart drone. Here’s why:
– The STM32 handles quick sensor data processing, cutting down on latency before sending data to the Pi.
– The Raspberry Pi 5, paired with the HAILO8L AI accelerator, is up to the task of running lightweight object detection models.
– The flight controller interprets commands and manages the motors for flight control.
One thing to watch: communication between each component needs to be reliable and low-latency. Using UART or SPI connections between STM32 and Pi 5 is standard, but double-check compatibility with your chosen flight controller.
Choosing a Flight Controller: Betaflight or ArduPilot?
For budget DIY drones, picking the right flight controller makes all the difference. Betaflight is the go-to for most hobbyist quadcopters. It’s open-source, easy to flash onto budget boards, and offers great community support. If you want more advanced autonomous features or plan to upgrade later, ArduPilot is worth a look.
Here’s how they stack up:
- Betaflight: Best for manual/FPV flying and basic autonomous tasks. Supported on many cheap controllers like the Matek F405 or SpeedyBee F405.
- ArduPilot: Advanced autonomy, waypoint missions, and scripting support. Runs on boards like the Matek F405-Wing or Pixhawk 4 Mini.
If your main goal is to try object detection and simple automated responses (like stopping or changing altitude), Betaflight is more than enough—and usually cheaper. For more autonomous missions, ArduPilot opens up extra possibilities, but it can be overkill for a first project.
Tips for Building Your First DIY Object-Detecting Drone
- Keep spare props and arms handy—first builds usually mean a few crashes.
- Make sure your power supply can handle both the Pi and sensors.
- Test sensor output on the STM32 before integrating with the Pi.
- Try running a simple object detection model (like MobileNet SSD) on the Pi before adding flight control logic.
- Use simulation tools (like Dronelink Simulator) to test logic before flying for real.
Real-World Anecdote: Learning From a Crash
A friend once built a similar DIY drone on a shoestring budget, only to have it tumble out of the sky during its first object detection test. The cause? A loose UART connection between the Pi and flight controller. Turns out, checking each hardware connection is just as important as the code running object detection. After tightening things up, the drone went on to navigate around obstacles—proving that with a bit of patience (and a few spare parts), these budget builds really can fly smart.
What Would You Change in Your First Budget Drone Build?
Building a budget drone with object detection is a hands-on way to learn about robotics, computer vision, and embedded systems. Each part of the setup—from the STM32 to the Raspberry Pi 5—teaches something new. If you were designing your own affordable smart drone, would you stick with Betaflight, or take the plunge with ArduPilot? And what kind of objects would you want your drone to recognize first?
—
**
Leave a Reply