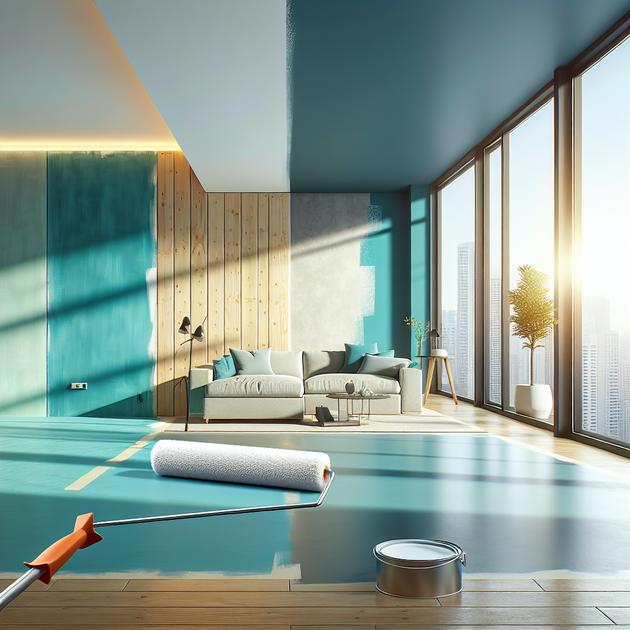
Ever noticed how repainting this wall—especially one that’s half painted and half bare—never turns out as seamless as you’d hope? It’s a super common problem after removing old paneling or trim. But don’t worry—you can absolutely get a flawless finish with just a few smart steps!
Why Does That Line Show Up When Painting This Wall?
So what’s actually causing that annoying line where the painted and unpainted parts of your wall meet? It usually comes down to two things:
- Texture differences: The top (painted) section is smoother while the bottom (bare) part is rougher or more absorbent.
- Color absorption: Bare drywall or plaster soaks up paint differently than already-painted areas.
If you just slap on a new coat of color, you’ll likely see a faint (or not-so-faint) line where the two meet—even after multiple coats.
Step-by-Step Guide to Repainting This Wall Evenly
Here’s how you can make sure your newly painted wall looks totally uniform:
- 1. Patch and Sand: You’re already filling holes and plastering—great! Once that dries, sand the entire area smooth so there are no ridges or bumps.
- 2. Feather the Edge: Use fine sandpaper (like 120-150 grit) to gently blend where the old paint ends and the bare section begins. The goal is to make it feel like one continuous surface when you run your hand over it.
- 3. Prime Everything: This is crucial! Use a high-quality primer over both the bare and previously painted areas. Primer helps even out absorbency so your final color looks consistent.
- 4. Check Your Work: Once the primer dries, run your fingers over the transition. If you feel any sort of ridge or texture change, lightly sand again and spot-prime if needed.
- 5. Paint Like Normal: Now roll on your chosen color across the whole wall in even strokes. Two coats are usually best for full coverage.
Anecdote: My Own Paneling-Painting Saga
When I first moved into my old house, we took down some truly questionable fake wood paneling in the hallway. Underneath was sad beige paint up top and raw drywall below—plus loads of nail holes! I made the rookie mistake of jumping right into painting without priming both sections. Big mistake! No matter how much paint I used, that dividing line always showed through in certain light.
After some panicked Googling (and groaning), I learned about feather-sanding and priming everything—even stuff that was already painted. Once I did those extra steps, it looked like one seamless wall instead of two awkward halves.
Troubleshooting Common Issues When Painting This Wall
Even with prep work, sometimes problems pop up:
- Patches show through? Try another coat of primer just on those spots before painting again.
- The surface feels uneven? Re-sand lightly between coats until it feels totally smooth.
- The color still looks different? Make sure you’re using quality tools—a good roller makes a huge difference for even coverage!
Your Turn!
Painting this wall doesn’t have to be stressful—even if it’s patchy from old panel removal. With thorough sanding, proper priming, and careful painting, you’ll be left with an even finish that hides all traces of its past life.
Have you ever had to repaint after removing paneling or trim? What tricks worked best for you—or what would you do differently next time?
Leave a Reply