Did you ever think you could build your own rugged worksite radio that actually sounds great both indoors and out? That’s exactly what I set out to do with the Jobside Radio Pro Max—a project that turned out to be as much about trial-and-error as it was about sound quality.
Why Build a Jobside Radio Pro Max?
Let’s be honest—there are plenty of store-bought radios out there. But most “job site” radios are either too expensive or just don’t hold up like you’d hope. That’s where the idea for building my own came in. With some inspiration from r/diyaudio (and a bit of stubborn curiosity), I wanted something that could handle dust, drops, unpredictable weather—and still crank out good music.
The demo video shows how it performed both indoors and outdoors. Spoiler alert: there were some surprises!
What Makes This Build Different?
The main goal was simple—create a portable radio that doesn’t flinch at being tossed around on the job site but also sounds clear enough to enjoy at home. Here’s what makes the Jobside Radio Pro Max stand out:
- Rugged enclosure: Built from a mix of plywood and reinforced corners for impact resistance
- Bluetooth connectivity: Stream straight from your phone or tablet—no more fighting over FM signals
- Rechargeable power: Swappable battery packs for all-day use (and no hunting for outlets)
- Custom speaker setup: Chosen to balance volume with clarity (because no one likes muddy music)
- Weather-resistant finish: So rain or spilled coffee isn’t the end of the world
I took cues from other folks’ builds on Reddit but tweaked things based on my own needs—like making sure there was enough bass for outdoor listening but not so much that it rattled everything inside.
The Build Process: Hits & Misses
Building the Jobside Radio Pro Max wasn’t just about following instructions—it was a lot of improvising. Let me share a quick story:
When I started assembling everything in my garage, I realized halfway through wiring that my plan for battery placement blocked one of the speaker ports. Oops. After some rearranging (and drilling new holes), I managed to make it fit without losing any sound quality.
Here are some lessons learned:
- Measure twice: Seriously—it’ll save you hours later.
- Expect mistakes: No matter how detailed your plan is.
- Test as you go: Don’t wait until the end to check connections.
- Cable management matters: A tidy build is way easier to fix later.
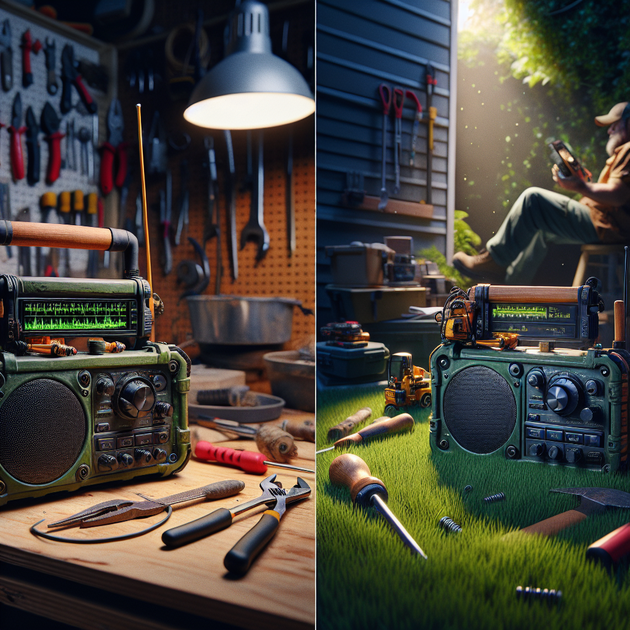
Indoors, the radio filled my workshop nicely—even at low volumes. Outdoors was where things got interesting; wind carries sound away fast! But cranking up the volume kept things clear without distortion.
The Real-World Demo: Indoor vs Outdoor Performance
If you check out my demo video (watch here), you’ll notice two big differences between indoor and outdoor use:
- Bass response: Indoors sounded punchier thanks to walls reflecting sound.
- Loudness needed: Outside required more power—but thankfully, battery life held up.
- No interference: Bluetooth stayed solid even with tools running nearby.
Overall? The Jobside Radio Pro Max handled both environments better than I expected. It’s not going to win any design awards—but for something built in a weekend with parts from around the house (plus a few Amazon orders), it absolutely gets the job done.
A Few Words for Future Builders
If you’re tempted to make your own version of the Jobside Radio Pro Max—or any DIY audio project—my biggest advice is just start. Don’t worry about perfection right away; half of learning comes from fixing mistakes as they come up.
And if you want inspiration or somewhere to share progress (or vent about problems!), communities like r/diyaudio are full of helpful folks who’ve been there before.
So—what would your must-have feature be if you built your ultimate jobsite radio? Drop your thoughts in the comments!
Leave a Reply