Ever tried pulling a nail out of a cinder block and ended up with a chunk of your wall missing? You’re not alone. When you need to remove nails from cinder block—especially before installing something like a vapor barrier—it can feel like you’re choosing between unsightly craters or stubborn metal sticking out where you don’t want it.
Let’s walk through the best ways to get those nails out (or at least flush) so you can move on with your project—and keep your walls in one piece.
Why Is Removing Nails From Cinder Block So Tricky?
Cinder block is tough but surprisingly brittle. Every time you wedge something between the nail and the wall or yank too hard, there’s a good chance you’ll pull off more than just the nail. That’s why standard pry bars or hammers often do more harm than good.
On top of that, if you’re prepping for a vapor barrier like our friend Obi_Wan_can_blow_me from Reddit, even tiny protrusions or leftover metal could puncture the plastic sheeting. That means getting these nails either out completely—or as close to flush as possible—is pretty important.
Step-by-Step Ways to Remove Nails From Cinder Block
Here’s what usually works best when dealing with stubborn nails in concrete or masonry:
- Try Gentle Prying First: If there’s any wiggle room around the nail head, use a flat pry bar or even locking pliers (like Vise-Grips) to gently twist and pull. Don’t rush—slow pressure reduces chipping.
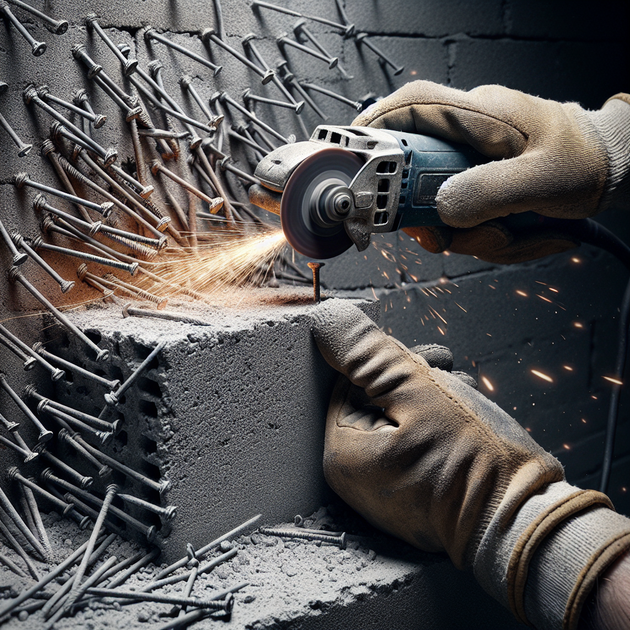
- Cut Off Flush: If prying isn’t working or causes damage, grab an angle grinder with a metal cutting wheel. Carefully grind the nail head until it’s flush with the wall. Wear safety glasses and a mask—you’ll kick up dust.
- Hammer It Below Surface: For really stubborn stubs, use a hammer and punch (or even an old screwdriver) to gently tap the nail further in so it sits below the surface of the block.
- Smooth Out Rough Spots: Once the metal is flush (or slightly recessed), skim over any roughness with concrete patch or mortar mix. Let it dry before installing your vapor barrier.
Tips for Getting Nails Flush With Minimal Damage
Getting those pesky nails flush takes patience—and sometimes more than one method:
– **Always go slow.** Rushing increases the odds of cracking.
– **Protect surrounding areas** by taping off spots near where you’ll be grinding.
– **Use hand tools if possible**—power tools can chip edges fast if they slip.
– **If grinding leaves a tiny nub**, cover it with patching compound rather than forcing it.
– **For deep-set nails**, consider leaving them in place if they’re already flush; just patch over them before finishing your wall.
A Real-Life DIY Win (Or Close Call!)
A friend once called in a panic after trying to yank several masonry nails from his basement wall ahead of putting up insulation—the result was cratered blocks everywhere. After some trial and error (and maybe a few choice words), he switched tactics: instead of pulling harder, he used an angle grinder to shave each nail head down until it was barely visible. Then he skimmed over each spot with quick-setting mortar mix. The whole job looked way neater—and his new vapor barrier stayed puncture-free.
Final Thoughts: Keep Your Walls Intact
Removing nails from cinder block doesn’t have to spell disaster for your basement walls. With some patience and the right tools—plus knowing when “flush” is good enough—you’ll be ready for whatever comes next in your project.
What tricks have worked for you when removing tough fasteners from masonry? Share your stories below!
Leave a Reply