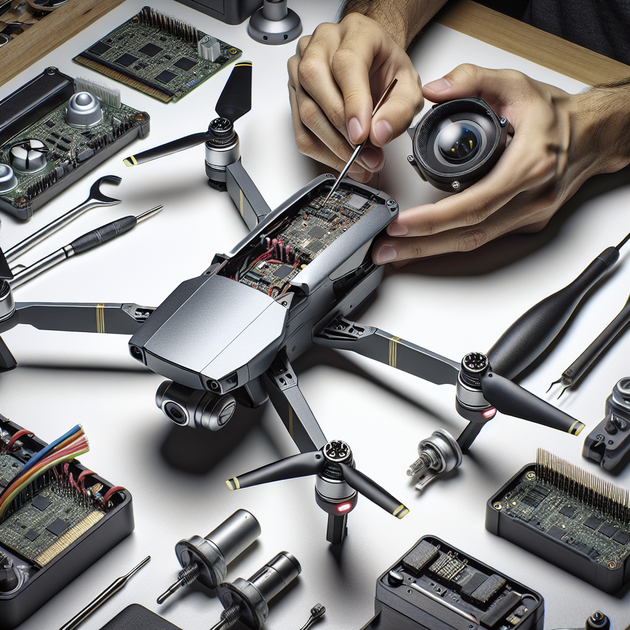
Have you ever replaced your drone’s gimbal motors only to find the camera acting up—shaky footage, weird angles, or constant errors? That’s where proper **gimbal calibration** steps in. It can seem intimidating at first, but with a few clear steps, you’ll have things running smooth again.
Why Is Gimbal Calibration So Important After Motor Replacement?
When a new motor goes in, even if it looks identical to the old one, its tiny differences can throw off balance and orientation. The result? Jittery footage or error codes that just won’t quit. Gimbals are sensitive tools. They rely on precise alignment between sensors and motors to keep your camera level as your drone moves.
Skipping calibration after a motor swap is like changing a car tire but forgetting to tighten the lug nuts—it might work for a bit but could quickly cause bigger problems.
Step-by-Step Guide for Gimbal Calibration After Replacing Gimbal Motors
Getting started with **gimbal calibration** doesn’t require special tools or pro experience—just patience and attention to detail:
- Check All Connections: Before powering up, double-check every wire and connector attached to the new motor.
- Level Surface: Place your drone on a completely flat and stable surface.
- Power On: Turn on the drone and let it initialize fully.
- Access Calibration Settings: Use your flight controller software (like DJI GO or Betaflight) to find the “gimbal calibration” option.
- Auto-Calibration: Start with automatic calibration if available; follow any prompts exactly.
- Manual Adjustments: If needed, tweak roll/pitch/yaw offsets until the horizon is perfectly level.
- Test Movement: Slowly tilt the drone by hand (while powered) to ensure smooth movement with no stutters or resistance.
- Tighten Everything Down: Once satisfied, recheck all mounting screws on both the motor and the camera plate—they should be snug but not overtightened.
These steps can solve most post-repair quirks quickly.
Troubleshooting Common Issues During Gimbal Calibration
Sometimes things don’t go perfectly right away—that’s normal! Here are some common hiccups and fixes:
- The Camera Won’t Level: Double-check that all motor wires are connected in the right order (a swapped wire will confuse the system).
- Error Codes Persist: Try recalibrating both IMU (Inertial Measurement Unit) and compass sensors as well; these sometimes need resetting after repairs.
- Buzzing or Overheating: This can mean friction from a misaligned motor housing—loosen screws slightly then realign before retightening.
If you’re still stuck after these fixes, look up model-specific guides or ask for help in online communities like [r/diydrones](https://www.reddit.com/r/diydrones/comments/1nwa4l5/gimbal_calibration_after_replacing_gimbal_motors/) for tailored advice.
A Real-World Example of DIY Gimbal Repair Success
One hobbyist shared their experience online after swapping out a faulty pitch motor on their quadcopter. Initially thrilled with the quick replacement job, they fired up their drone—only to see their camera shaking like crazy mid-flight. It turned out they’d skipped manual calibration assuming auto mode would handle everything.
After following step-by-step manual adjustments through their controller app—and making sure every screw was properly tightened—their footage returned to buttery smoothness. Sometimes it’s those last couple of steps that make all the difference!
Your Turn—Ready for Smooth Footage?
Replacing a gimbal motor doesn’t have to end in frustration or blurry video. A careful approach to **gimbal calibration** brings everything back into perfect sync so you can keep flying (and filming) without worry.
What other repair tips or tricky issues have you run into while working on your own drones? Share your experiences below!

Leave a Reply