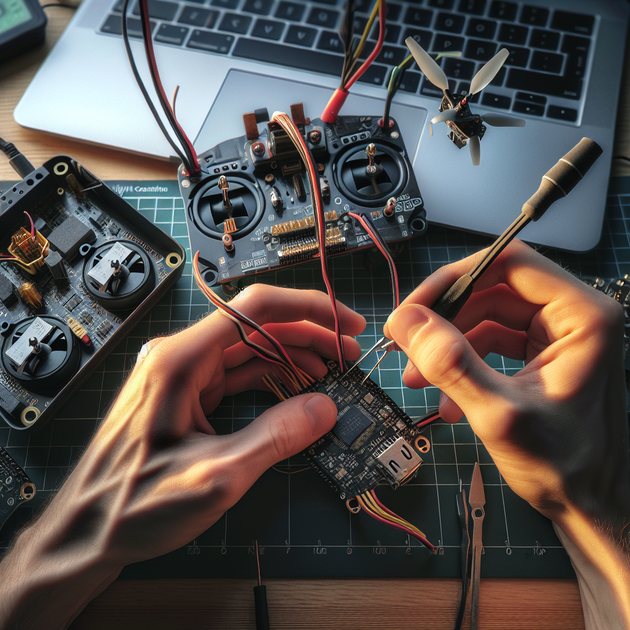
Is your FPV drone showing zero amps in Betaflight even though everything else looks good? If you’re flying the Skystars F722HD PRO4 flight controller paired with the KM60A II ESC stack, you’re not alone—many new pilots run into this exact issue when setting up their first quad. Getting a proper Betaflight amperage reading isn’t just about connecting wires; it takes a bit of know-how on both hardware and software sides.
Understanding Why Amperage Matters in Betaflight
Amperage (current) readings are crucial for any serious FPV drone pilot. Without them, you can’t track power usage or spot problems like battery sag or excessive draw from motors. Accurate data from your flight controller helps prevent mid-air brownouts and keeps your expensive gear safe. The Skystars F722HD PRO4 + KM60A II stack combo is popular for its performance—but only if all sensors are talking to each other properly.
How to Wire Current Sensing with the F722HD PRO4 + KM60A II Stack
The problem usually starts at the wiring stage. The KM60A II ESC has both a TX (telemetry) and CUR (current) pad. Which one should you use for a reliable Betaflight amperage reading?
Here’s what works best:
- CUR Pad: This outputs analog current sensor data. Connect this pad directly to the “Current” input pin on your F722HD PRO4 flight controller.
- TX Pad: This is for digital ESC telemetry (like RPM, voltage, temperature) via UART—not needed if you just want basic analog current sensing.
- Check Your Wiring: Make sure that the CUR wire from the ESC lines up exactly with the Current In pad on your FC—double-check against both manuals!
- Don’t Cross Wires: Never connect both CUR and TX to the same FC pad—pick one method.
Many people accidentally only hook up the TX line expecting full telemetry—including current—without realizing that most FCs still need an analog CUR signal for simple amp readings.
Betaflight Configuration Steps for Amperage Display
After sorting out wiring, it’s time to make sure everything’s set correctly inside Betaflight:
- Plug into your PC and launch Betaflight Configurator.
- Head over to the “Power & Battery” tab.
- Select “Onboard ADC” as the Current Meter Source (for analog CUR connection).
- If using ESC Telemetry via TX/UART instead (not recommended for this combo), choose “ESC Sensor.” But if you followed above wiring, stick with Onboard ADC.
- You may need to calibrate by adjusting scale values until displayed mAh matches what your charger reads after a flight.
A quick anecdote: A friend of mine spent hours troubleshooting why his new quad wouldn’t show amps—even swapped out two flight controllers. Turned out he’d wired only TX telemetry but not CUR! The moment he moved that tiny wire over to Current In, everything just worked.
Troubleshooting Common Issues with Current Sensors
If you’re still stuck with no amperage reading in Betaflight after following these steps:
- Check continuity: Use a multimeter to ensure there’s no break between ESC CUR pad and FC Current In pin.
- Solder joints: Cold joints or weak soldering can cause signal loss—reflow those pads if unsure.
- Pins match up: Some pre-made harnesses swap wire order; always verify pinouts before powering up.
- Firmware update: Make sure both FC and ESC have updated firmware compatible with each other.
And remember—sometimes it’s just a matter of rebooting everything after changing settings!
The Wrap-up: Small Details Make Big Differences
Getting accurate amperage readings in Betaflight really comes down to one thing—making sure that analog CUR signal gets from your ESC straight into your flight controller’s dedicated input pin. Skip this step or mix up wires, and you’ll be left guessing about battery health every time you fly.
It might seem complicated at first glance (especially if you’re new), but once you’ve done it once or twice it becomes second nature. Double-check those connections before blaming faulty hardware or software—it could save you hours of head-scratching!
So—how did fixing your current sensing go? If you’ve got tips or ran into different issues on your setup, drop them below!

Leave a Reply