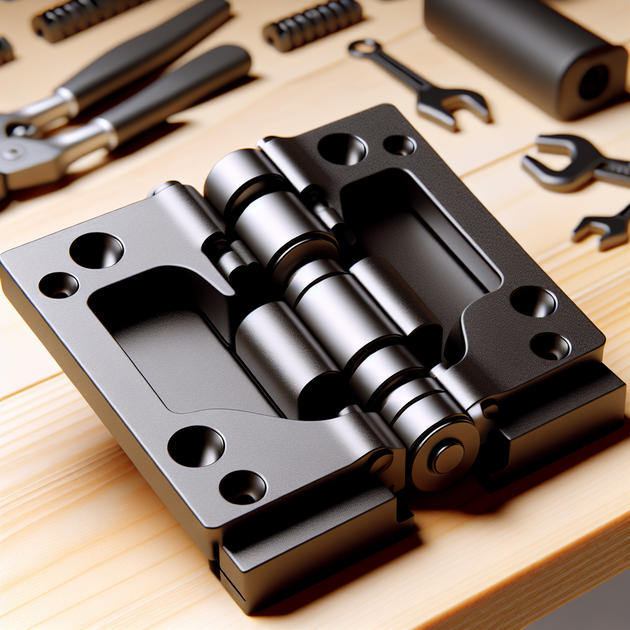
Ever wondered if making something bigger always means it works better? With friction hinges—those clever joints that hold doors or lids in place at just the right angle—it turns out there’s a lot more to consider than just size. Recently, Jakob_K_Design put a bigger version of his custom friction hinges to the test. The results were eye-opening for anyone interested in hinge design or functional 3D prints.
Why Test a Bigger Version of Friction Hinges?
Friction hinges are everywhere—from laptops to tool boxes to car consoles—but most off-the-shelf options come in standard sizes. Sometimes you need something custom, maybe for a unique DIY project or because you want more holding power. That’s where scaling up comes in.
But here’s the catch: Simply making the parts larger doesn’t guarantee better performance. Larger components can introduce new problems like increased wear or uneven resistance. So it makes sense to see how a bigger version actually holds up before using it on something important.
The Testing Process and What Changed
To test his bigger friction hinge design, Jakob_K_Design focused on two main things:
- How much resistance the new hinge provided compared to the original size
- Whether scaling up affected smoothness or durability
He kept the basic mechanism the same—just increased all dimensions proportionally. The idea was to see if more surface area meant more holding power without sacrificing ease of movement.
Some changes that came up during testing:
- Bigger parts needed tighter tolerances to avoid wobble
- The friction material wore down faster than expected
- Smoothness wasn’t as consistent throughout the range of motion
Lessons Learned from Scaling Up Hinge Design
So what did this hands-on experiment reveal? Here are some takeaways if you’re thinking about making your own custom or 3D printed hinges:
- Surface area matters: More contact means more resistance—but only if materials can handle it.
- Tolerances get trickier: Small gaps become big issues at larger sizes; precision is key.
- Material choice is critical: What works for small hinges might wear out quickly on big ones.
- Smoothness can suffer: Larger pivots may stick or bind unless carefully designed.
A good rule of thumb is to prototype with cheap materials first before committing to your final build—especially when making anything larger than usual.
An Anecdote from the Workbench
There’s something satisfying about holding a freshly printed part that just “clicks” into place. When Jakob_K_Design tried snapping his new oversized hinge onto a test rig, though, there was definitely no click—instead, he got an unexpected squeak and way more resistance than planned! A few spins later and the friction pads showed signs of wear already.
Turns out even small tweaks (like adjusting spring tension or choosing tougher pads) can make all the difference when scaling things up. It was back to CAD for some quick fixes—but that’s part of what makes hands-on projects so rewarding.
Main Takeaways & Next Steps for Your Own Projects
Testing a bigger version of friction hinges isn’t just about seeing if it’ll hold heavier doors—it’s about learning how size changes everything from fit to function. If you’re considering your own custom hinge project:
- Prototype at multiple sizes before finalizing your design.
- Experiment with different materials and pad types.
- Watch for wear spots after initial use—bigger means higher stress.
- Tune tolerances carefully; don’t rely on “just scaling up.”
Curious about all the details? You can check out Jakob_K_Design’s full post and photos on Reddit at this link.
What would you try changing if you were building your own oversized hinge—different materials, or maybe an entirely new mechanism? Share your thoughts below!

Leave a Reply