Ever tried finding a replacement cover for an old fan vent and realized they just don’t make them anymore? That’s exactly what happened to my friend—until we decided to try out a custom ASA vent cover made with a 3D printer. But printing your own solution begs an important question: will it actually last?
Why Choose an ASA Vent Cover?
When your original fan vent cover breaks or goes missing, hunting down an exact replacement can feel impossible. Manufacturers often discontinue older models (sometimes without warning), leaving folks like us stuck between buying a universal fit—that may or may not work—or getting creative. That’s where ASA plastic comes in.
ASA (Acrylonitrile Styrene Acrylate) is known for its weather resistance and UV stability. In plain English, this means it won’t get brittle or yellow from sun exposure as quickly as other plastics do. That makes it perfect for outdoor applications like fan vents. Plus, if you own or have access to a 3D printer, designing and making your own ASA vent cover could be the most straightforward fix.
The Design Details Matter
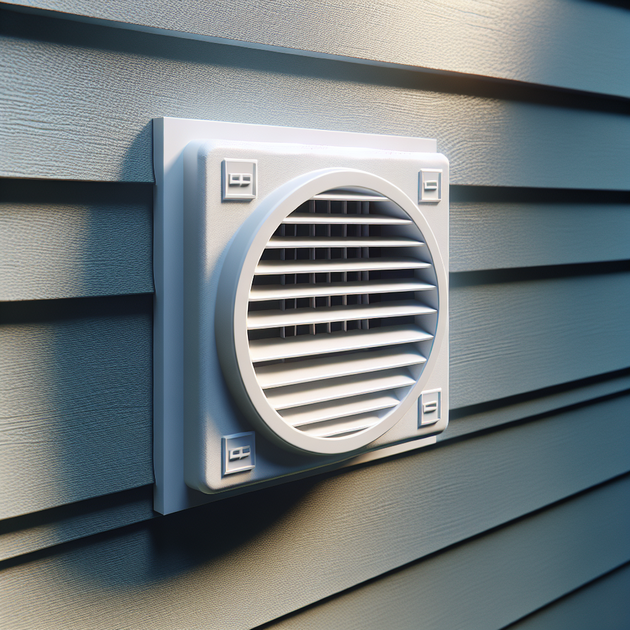
This particular design had me curious from the get-go. The thinnest pieces between each square cutout are about 3mm thick and 3.4mm wide—so while they might look delicate in photos, they’re actually beefier than you’d expect. This sizing is crucial; too thin and the pieces might snap in rough weather or under stress from cleaning.
- Material: ASA plastic (for UV/weather resistance)
- Thickness: Thinnest points at 3mm
- Width: Narrowest strips at 3.4mm
- Mounting: Designed to fit existing holes (avoiding new screws into siding)
- No direct replacements available: Only universal covers—those usually require more installation work
The beauty of customizing your own part is that you can tweak these dimensions to match your needs—and reinforce any weak spots if you’re worried about long-term durability.
Anecdote: The Real-Life Test
I printed this ASA vent cover for my friend after their original one cracked during last winter’s freeze-thaw cycle. Since buying an actual replacement wasn’t possible without resorting to drilling into siding (a big no thanks!), this was our best shot.
The install was straightforward since we modeled the screw holes to line up with the existing ones on their house. Everything snapped into place nicely—no extra holes needed and no weird gaps that could let bugs in.
A few months on now through spring storms and some pretty wild temperature swings, it still looks brand new. No warping, cracking, or signs of UV damage so far! We’re both keeping an eye on those thinner sections between cutouts though; if they ever start to go brittle or flex too much, I’ll update the design with thicker bars next time around.
The Pros & Cons of Printing Your Own Replacement Vent Cover
- Pro: Custom fit—matches your existing screw pattern exactly
- Pro: No need to modify your siding or drill new holes
- Pro: Durable material choice with weather/UV resistance thanks to ASA
- Con: Needs access to a reliable 3D printer and some basic CAD skills
- Con: Durability is still being tested over time—especially at thinner sections
- Con: May not be as polished-looking as commercial options (if aesthetics are key)
If You’re Considering Making Your Own…
If you’re facing the same dilemma—a missing or broken fan vent cover that’s impossible to replace—it might be worth making your own ASA vent cover. Here are some quick tips before starting:
- Tweak thickness in any areas that seem weak in your model; don’t go thinner than ~3mm unless you’ve really stress tested it.
- If aesthetics matter, sand and paint after printing for a smoother finish.
- If possible, use white or light-colored ASA—it reflects sunlight better and resists yellowing even more.
- If you don’t have a printer yourself, check local maker spaces or online services—they often take custom print requests!
The Takeaway: Worth It?
This whole project started out as an experiment—and so far, so good! The original post by steffanan on Reddit, which inspired this approach, has others curious about long-term results too. If you’re comfortable tweaking designs and want a practical fix without drilling new holes or settling for “close enough,” going the custom route can be surprisingly satisfying—and effective.
If you were in my shoes—or my friend’s—would you try making your own ASA vent cover? Or would you stick with universal replacements even if they meant more work? I’d love to hear what solutions have worked best for you!
Leave a Reply