Is there anything more exciting (or a little nerve-wracking) than picking up a pile of mysterious DIY speakers from someone moving out of town—all for just $20? If you’ve ever wondered “What did I just purchase?” after scoring a deal on secondhand audio gear, you’re definitely in good company.
Unboxing the Unknown: The World of Secondhand DIY Speakers
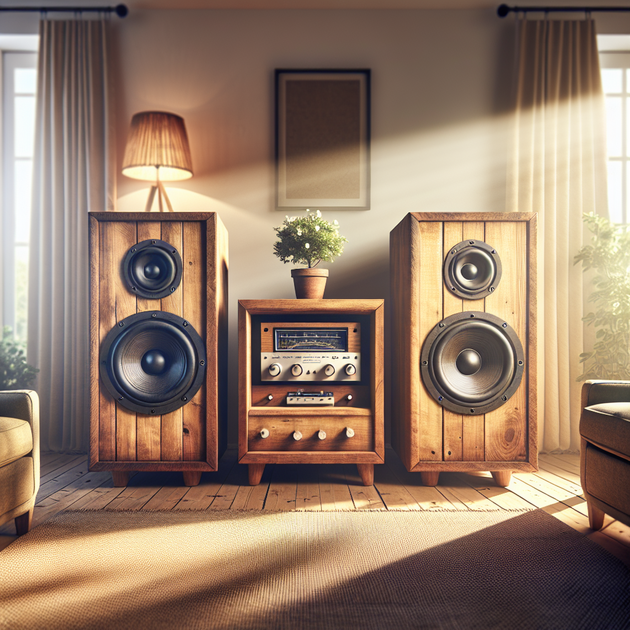
Let’s face it—buying used or homemade audio equipment is always a bit of an adventure. You might get lucky and find hidden gems… or end up with an oddball project that needs some TLC. In my case, I found these hefty DIY speakers from a local guy who just wanted to clear out his place before moving. For $20 total, it seemed like too interesting a gamble to pass up.
The first thing I noticed when lugging them into my living room was their weight. These things are solid! There are drivers on both the front and the back; the rear driver even sits raised with a cone dust cover. It all left me wondering if they’d boom with rich sound or just buzz with disappointment.
What Makes These DIY Speakers Unique?
If you’re new to the world of homemade speakers (or even seasoned but curious), here’s what stood out about this setup:
- Dual drivers: Both front and back have speaker drivers—less common in mass-market models.
- Raised rear driver: The back driver isn’t flush but sticks out from the cabinet.
- Cone dust cover: A classic touch found on many vintage designs.
- Solid build: The surprising weight hints at quality components or dense materials.
- Bargain price: At $20 for all, it’s hard to go wrong—even if there’s work ahead.
If any of this sounds familiar—or if you’ve ever been tempted by a Craigslist or Facebook Marketplace find—these features might ring a bell.
Setting Up Your Secondhand Audio Gear
Getting these DIY speakers ready isn’t quite as easy as plugging in something brand new. Here are some steps I’m planning (and recommend you try if you score something similar):
- Check wiring and connections: Make sure everything looks clean and tight inside before powering them up.
- Inspect drivers: Gently press around each cone to check for any rubbing or damage.
- Test with low volume first: Start with quieter music to catch any issues before cranking it up.
- Tweak positioning: Since these have rear drivers, experiment with distance from walls for best sound.
- Listen critically: Pay attention to clarity—DIY builds sometimes need extra tuning or dampening.
I’ll admit—I’m no stranger to cleaning up old electronics. Once I found an ancient pair of bookshelf speakers at a yard sale. With just a little patience (and some baking soda for the musty smell), they ended up being my favorite set for years.
The Fun (and Risk) of Buying Used Speakers
Part of the thrill in buying secondhand or homemade audio gear is not really knowing what you’ll get until you plug it in. Sometimes you hit gold; other times you find yourself learning more about soldering than you planned! But that’s half the fun—especially when the stakes are low like this.
Some quick pros and cons:
- Pros: Unique sound character, hands-on learning, budget-friendly prices
- Cons: Possible unknown issues, need for repairs or modifications
For anyone interested in home audio projects or tinkering with vintage equipment, taking on a mystery box like this can be incredibly rewarding—even if things don’t go perfectly at first.
So now I’m curious—have any of you taken on a similar project? What did your “mystery” speakers turn out like—and any advice for getting the most out of secondhand finds?
Leave a Reply