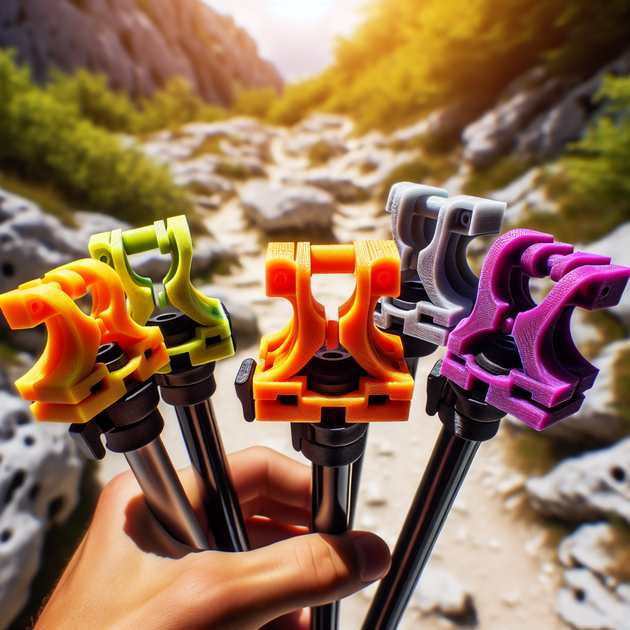
Ever snapped a walking stick clip when you squeezed it a bit too hard? It’s a frustrating problem—especially if you rely on those attachments for stability on your hikes. If you’re into 3D printing your own gear, you’ve probably asked yourself how to make a walking sticks attachment that’s both strong and reliable.
Let’s dig into some practical ways to reinforce those clips so they don’t let you down when you need them most.
Why Do Walking Sticks Attachment Clips Break?
The main issue with many 3D printed clips boils down to their structure and the way they’re printed. If you print with just two walls (also called perimeters) and 20% infill like jbeck16 did in their Reddit post, it’s pretty common for the arms of your clip to feel weak or snap under pressure.
Here are a few reasons why this happens:
- Thin Walls: Not enough material means less strength.
- Low Infill: The inside is mostly empty space.
- Print Orientation: Layers can split easily if the stress runs along them.
- Material Choice: Some filaments are just brittle by nature.
No worries—there are simple ways to make those clips much tougher!
Simple Tweaks to Strengthen Your Walking Sticks Attachment
Before heading out on another hike or walk, try these adjustments:
- Add More Walls: Increase perimeters from 2 to at least 4. This gives the clip solid sides that won’t flex or snap as easily.
- Bump Up Infill: Go from 20% up to 40% or even 50%. More plastic inside equals greater strength where it counts.
- Change Infill Pattern: Try cubic or gyroid patterns—they distribute force better than lines or grids.
- Tweak Print Orientation: Print so the layers run across the clip arms rather than along them. This makes splitting less likely.
- Use Tougher Filament: PETG or ABS are generally stronger than PLA. Nylon is even better if you’re ready for a challenge.
Anecdote: The Clip That Wouldn’t Quit
A friend of mine once printed hiking pole accessories before a group trek in the Rockies. The first batch used two walls and low infill—just like jbeck16’s setup—and almost every single one cracked during our first steep descent! Lesson learned. For the next trip, she reprinted with four walls and 50% cubic infill using PETG. Not only did those new clips survive the entire week, but they also showed hardly any wear by the end.
Sometimes a tiny tweak makes all the difference between “Oops!” and “Wow!”
Extra Design Tips for Bulletproof Attachments
If you’re up for some minor redesigns (or want something even more reliable), consider:
- Add Fillets/Rounded Corners: Sharp angles are weak spots; rounding them spreads out stress.
- Add Ribs or Gussets: Small support “fins” can reinforce arms without adding much bulk.
- Avoid Thin Hinges: Try integrating flexible joints instead of relying on tiny moving parts.
- Slightly Thicker Arms: Even an extra millimeter can double strength without making things clunky.
These design tweaks help prevent breakage right at those high-stress points where most failures start.
Troubleshooting Checklist
Here’s a quick guide if you’re still having trouble:
- Your prints still snap? Double-check wall count and infill settings first—they matter most!
- If you see layer separation, slow down your print speed a bit or raise nozzle temp for better bonding between layers.
- If everything else fails, switching filament brands can be surprisingly effective—some “budget” filaments are just too brittle for weight-bearing parts.
The Bottom Line: Stronger Walking Sticks Attachments Are Within Reach
With just a few adjustments—more walls, higher infill, better orientation—you’ll get much stronger walking stick attachments from your home printer. Don’t forget about small design tweaks too; sometimes rounding an edge or thickening an arm makes all the difference.
So next time you head out with your trusty hiking poles (and homemade accessories), will you trust your current clips—or try these upgrades first?

Leave a Reply